Showing posts with label rosemary. Show all posts

Sunday, July 29, 2012

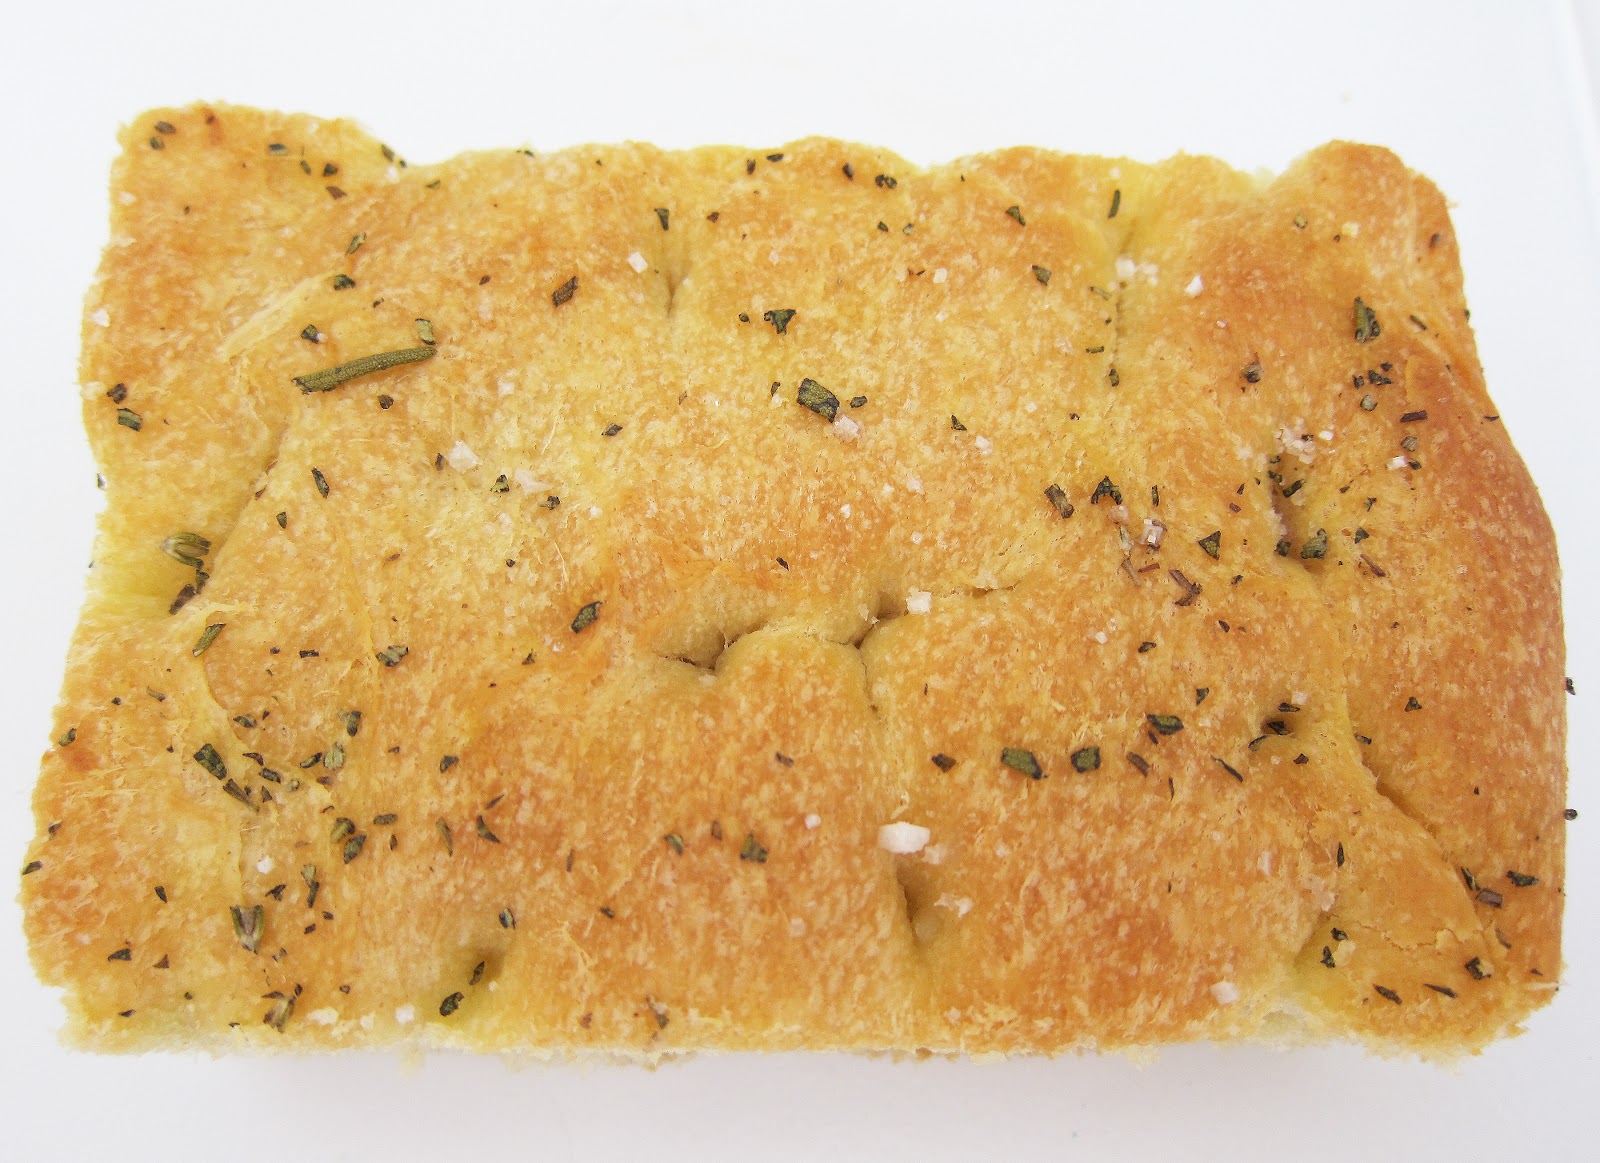
Rosemary Focaccia

I'm no shrink (that's pretty clear just from my use of the word shrink). But I don't think I'm overstating it when I say that the smell of baking bread will cure even the deepest, darkest depression. Okay, that's an obvious lie, but it will probably make you feel comforted and happy (at least for a while). Sure, any bread will do the trick, but this focaccia takes it up a notch. The pungent rosemary-garlic aroma combined with that glorious yeasty, warm bread smell - all I can say is wow. I was counting the seconds before I could remove the focaccia from the oven and get my hands (and taste buds) on it. I know real estate agents like to bake cookies before an open house, but if we ever sell our house, I'm baking this.
 

ROSEMARY FOCACCIA
Yield: 8 to 10 servings

1 ¾ cups warm water
1 package active dry yeast
1 tablespoon sugar
5 cups all-purpose flour, plus additional for kneading
1 tablespoon kosher salt (plus coarse sea salt, for sprinkling)
1 cup extra virgin olive oil, divided
2 garlic cloves, thinly sliced
1 tablespoon finely chopped fresh rosemary


1.      Combine the warm water, yeast and sugar in a small bowl. Put the bowl in a warm, not hot or cool, place until the yeast is bubbling and aromatic, at least 15 minutes.
2.      In the bowl of a mixer fitted with a dough hook, combine the flour, 1 tablespoon of kosher salt, 1/2 cup olive oil and the yeast mixture on low speed. Once the dough has come together, continue to knead for 5 to 6 minutes on a medium speed until it becomes smooth and soft. Give it a sprinkle of flour if the dough is really sticky and tacky.
3.      Transfer the dough to a clean, lightly floured surface, then knead it by hand 1 or 2 times. Again, give it another sprinkle of flour if the dough is really sticky and tacky.
4.      Coat the inside of the mixer bowl lightly with olive oil and return the dough to the bowl. Cover it with plastic wrap and put it in a warm place until the dough has doubled in size, at least 1 hour.
5.      Coat a jelly roll pan with the remaining 1/2 cup olive oil. (Chef's Note: This may seem excessive, but focaccia is an oily crusted bread. This is why it is soooooooooo delicious!).
6.      Put the dough onto the jelly roll pan and begin pressing it out to fit the size of the pan. Turn the dough over to coat the other side with the olive oil. Continue to stretch the dough to fit the pan. As you are doing so, spread your fingers out and make finger holes all the way through the dough. (Chef's Note: Yes, this is strange. But when the dough rises again it will create the characteristic craggy looking focaccia. If you do not make the actual holes in the dough, the finished product will be very smooth.)
7.      Put the dough in the warm place until it has doubled in size, about 1 hour.
8.      Preheat the oven to 425º F.
9.      Heat 1 tablespoon olive oil in a small skillet over medium-low heat. Add garlic; cook 5 minutes or until fragrant.  Remove garlic from oil with a slotted spoon; discard garlic, and remove pan from heat.
10.  Lightly brush the dough with the garlic oil. Sprinkle with rosemary and coarse sea salt. Bake the until the top of the loaf is golden brown, about 25 to 30 minutes. Remove the focaccia from the oven and let it cool before cutting and serving.

slightly adapted from Anne Burrell
adding yeast to warm water and sugar
yeast bubbly
flour, salt, olive oil and yeast mixture
dough coming together
dough smooth and soft
dough after kneading (before rising)
1 hour later (doubled in size, at least)
spreading the dough into the pan and poking holes

I've never seen it done exactly this way before (usually
you just make the dimples by pressing with your fingers
after it's in the pan). But this is Anne Burrell's way and
it works too (it's just a little less uniform).
dough in pan
dough risen (1 hour later)
garlic and rosemary
garlic and olive oil
brushing dough with garlic oil
dough sprinkled with rosemary and salt
baked
rosemary focaccia
  
.

Wednesday, April 25, 2012

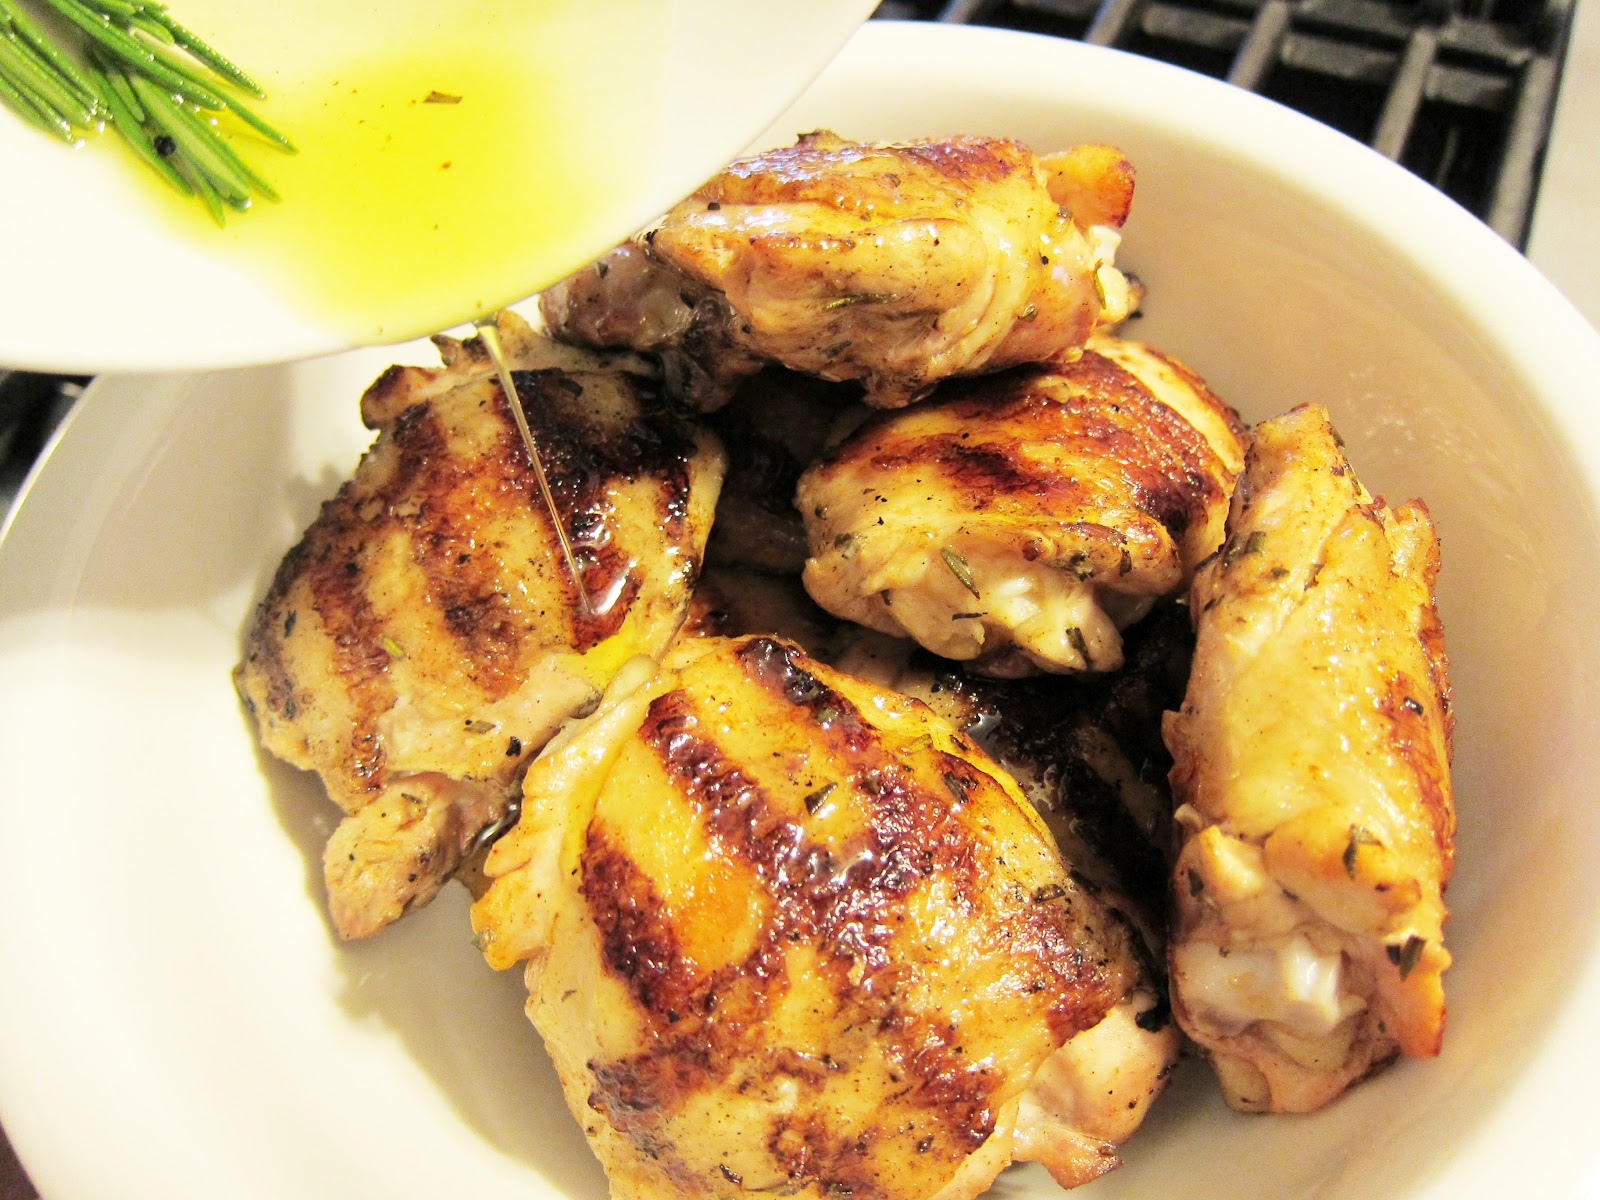
Grilled Rosemary Chicken with Lemon

I find that everyone enjoys some nice grilled chicken. Except for vegetarians and of course, the chicken. But otherwise, it's a good solid choice for a nice, informal meal. You can't really go wrong. Unless maybe you drop your tongs into the grill and then try to fish them out with a way too short fork and burn your fingers. And then you run inside and put them under the faucet, but the hot water comes out for the first few seconds, instead of the cold water. But then that's just the chance you're taking. You can't blame the recipe (although you can totally curse at the chicken until the pain subsides and then eat it).


GRILLED ROSEMARY CHICKEN WITH LEMON
Makes 6-8 servings

3 to 4 lb. chicken thighs or breasts, bone-in and skin on
3/4 cup olive oil, divided
1/4 cup fresh lemon juice plus 1 lemon
12 rosemary sprigs, divided
10 garlic cloves, coarsely chopped
Kosher salt and freshly ground black pepper
1 large pinch smoked paprika


1.      Arrange chicken in a glass baking dish. Drizzle with 1/2 cup oil and lemon juice. Coarsely chop leaves from 10 rosemary sprigs. Toss chopped rosemary and garlic with chicken to coat; season with salt, pepper, and paprika. Cover; chill for 3 hours or overnight.
2.      Build a medium fire in a charcoal grill, or heat a gas grill to medium-high. Let chicken come to room temperature. Brush off marinade; grill chicken, turning occasionally, until browned and almost cooked through (about 20-22 minutes for legs and thighs, 16–18 minutes for breasts).
3.      Pour remaining 1/4 cup oil into a small bowl. Dip 2 rosemary sprigs in oil; occasionally baste chicken with sprigs until cooked through, about 5 more minutes.
4.      Let chicken rest for 15 minutes. Transfer to a bowl. Cut lemon in half lengthwise, then cut thinly crosswise into half-moons. Add to chicken with any leftover basting oil; toss to coat.

from Bon Appétit, August 2011 by Kevin West
rosemary
garlic
drizzling olive oil over chicken
squeezing lemon
chicken marinating
marinade brushed off the chicken
chicken on the grill, skin side down
chicken flipped
rosemary and olive oil
basting the chicken
lemon slices
pouring the basting oil over the chicken
chicken served with lemon slices
.

Tuesday, March 20, 2012

Rosemary-Feta Beer Bread

You'll notice at the bottom of this recipe it says barely adapted. That's because after making this I decided I should up the feta cheese next time. I find as a rule, increasing the cheese improves most recipes (and whatever other problems you may have in life). Unless of course your problem is lactose intolerance or being allergic to dairy. In which case, you should ignore what I just said and probably stop reading my blog altogether (because I'm a dairy loving fool with no plans to slow down any time soon).

Anyway, I liked this bread. But not as much as my almost seven-year-old. In fact, I gave her a slice and then tried to take some photos, but she wouldn't stop trying to snatch some more (see the little arm in mid-snatch above). It was partly because she really, really liked the bread and partly because she thought it was hilarious to mess up my photos. And the more I glared at her, the funnier she thought it was. Her sense of humor is really coming along. I'm so proud.


ROSEMARY-FETA BEER BREAD

3 cups all-purpose flour
1 tablespoon sugar
1 teaspoon salt
1 tablespoon baking powder
12 ounces beer
2 tablespoons chopped fresh rosemary (or 1 tablespoon dried)
1 1/4 cups feta cheese, crumbled


1.      Preheat oven to 375° F. Grease an 8-inch loaf pan.
2.      Combine flour, sugar, salt, baking powder, rosemary, and feta in a large mixing bowl.
3.      Slowly stir in beer and mix just until combined. Batter will be very thick.
4.      Spread in loaf pan and bake until golden brown and a toothpick inserted in the center comes out clean, about 45 minutes.
5.      Cool in the pan on a rack for 10 minutes. Remove from pan and cool 10 more minutes.
6.      Serve warm or at room temperature.

barely adapted from A Whisk and a Prayer (originally adapted from Farmgirl Flare)
fresh rosemary
crumbled feta
everything but the beer
pouring in the beer
dough mixed
dough in pan
baked
removed from the pan
sliced

Just like with a dog with her tennis ball, I had to
throw a slice across the room for my daughter to fetch,
so I could distract her long enough to snap this shot.
.

Monday, May 9, 2011

Rosemary Cookies with Tomato Jam

The minute I saw this recipe, I was excited to try it. I admit, that's the real reason I made tomato jam (although it is also great with cheese & crackers and as a sandwich spread). These cookies did not disappoint. I was pretty sure the blend of rosemary, cornmeal and tomato would appeal to adults, but I was surprised when I had to cut my daughter off. The sticky smile on her face said it all.

ROSEMARY COOKIES WITH TOMATO JAM
Makes about 24 cookies

2 cups (280 g) all-purpose flour
1/4 cup (40 g) stone-ground yellow cornmeal or polenta
1/2 teaspoon salt
2 sticks (225 g) unsalted butter, at room temperature
10 tablespoons (135 g) sugar
2 large egg yolks
1 1/2 tablespoons finely chopped fresh rosemary leaves
__________________________________________________________________________

1.       In a small bowl, whisk together the flour, cornmeal, and salt.
2.       In a stand mixer fitted with the paddle attachment (or in a bowl by hand), beat together the butter and sugar on medium speed just until smooth. Mix in the egg yolks, then the rosemary. Add the flour mixture and mix until the dough is smooth and holds together.
3.       On a lightly floured work surface, divide the dough in half. Shape each half into a log about 6 inches long and 1 3/4 inches in diameter. Wrap the logs in plastic wrap and refrigerate until chilled and firm, at least 1 hour.
4.       Position racks in the upper and lower thirds of the oven; preheat the oven to 350° F. Line 2 baking sheets with parchment paper or silicone baking mats.
5.       Slice the logs into disks 1/4-inch thick and place the disks about 1/2-inch apart on the prepared baking sheets.
6.       Bake, rotating the baking sheets midway through baking, until the edges of the cookies are lightly browned, about 12 minutes. Let cool completely.
7.       Spread a scant 1 1/2 teaspoons of the jam on the underside of half of the cookies. Top the jam with a second cookie, bottom side down, to make sandwiches.

Dough can be frozen for up to 1 month. Once filled, the cookies can be stored in an airtight container for up to 3 days.

from Ready for Dessert: My Best Recipes by David Lebovitz

rosemary

adding rosemary to butter, sugar and yolks
mixing in the flour mixture
When it starts clumping up, you know you can form it into a ball or disk.
dough halved
dough logged
slicing the cookies
before baking
baked
spreading with tomato jam

I was probably a little heavy handed with the
jam, but it was thick enough not to ooze out (much).
sandwiched

Next time I make these, I'll roll them smaller (just so they're
a little more dainty). I think they'd be perfect for a tea party
(not that I throw many of those).
.