Showing posts with label don't. Show all posts

Thursday, July 19, 2012

Fig and Blue Cheese Savouries

I wanted to love these unusual little...crackers, I guess I'll call them (cookies doesn't seem quite right). But I didn't. They just tasted kind of off to me. Like when milk is right on the edge and you can't decide whether it's still good or not (by the way, in that situation I advise erring on the side of caution and going with not). What surprised me about these was that while I expected to like them and didn't, my 7-year-old daughter loved them. She asked me to put them in her lunchbox the next day. The girl doesn't like blue cheese or figs and told me how gross it all looked the whole time I was making them, so I certainly didn't see that coming. I think she just likes to see that look of confusion on my face. Well played Maddie.


FIG AND BLUE CHEESE SAVOURIES
Makes about 3 dozen

1 cup all-purpose flour
1/2 cup butter, room temperature
4 ounces blue cheese, crumbled
freshly ground black pepper
approx. 3 tablespoons fig preserves


1.      Heat oven to 350º F. Line a baking sheet with parchment paper.
2.      Place the flour, butter, blue cheese and a few grinds of black pepper in the bowl of a food processor. Process until the dough just comes together and starts to form a ball.
3.      Dump the dough onto a lightly floured surface and knead a few times to pull the dough together. Roll out to 1/8-inch thick with a floured rolling pin. Cut rounds out of the dough with a floured 1-inch cutter and transfer the rounds to the parchment-lined baking sheet.
4.      Using the rounded back of a half-teaspoon measure or your knuckle, make an indention in the top of each dough round. Spoon about ¼ teaspoon of fig preserves into each indention, using your finger to push the preserves as best as possible into the indentions.
5.      Bake the savories for 10 - 14 minutes, until the preserves are bubbling and the pastry is light golden on the bottom.
6.      Let cool on the baking sheet for at least 10 minutes, then remove to a wire rack to cool. Can be made a day ahead (keep them in two layers separated by waxed paper in an airtight container).

from food52.com (submitted by TheRunawaySpoon)
flour, butter, blue cheese & black pepper
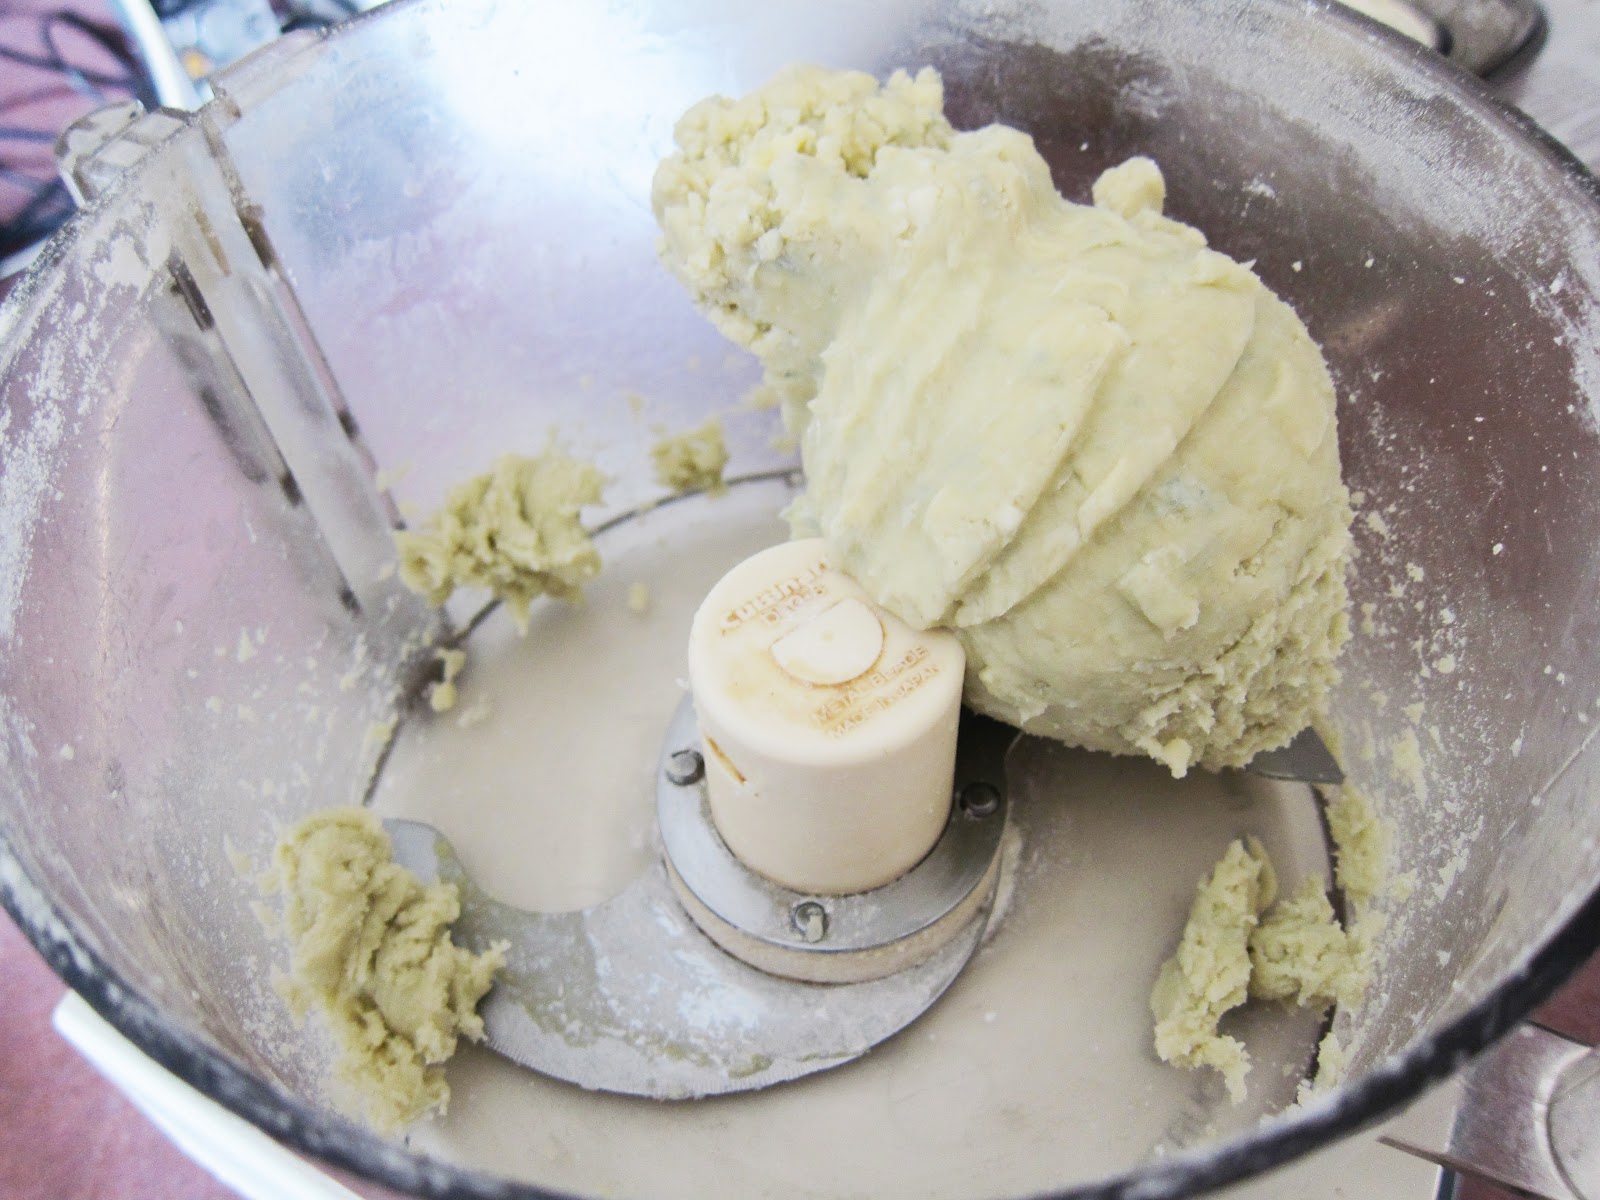
blue cheese dough
dough disk
rolled dough
cutting into rounds
dough rounds
topped with fig jam
fig and blue cheese savouries

.

Tuesday, June 19, 2012

Baked Buttered Bugles

One day my husband told me that his grandparents used to make baked buttered bugles and that they were delicious warm from the oven, served with a glass bottle of coke (not a can). It became clear as he reminisced, that this was a very happy, childhood food memory for him. My response was something like "They did what?! They put butter on bugles? That's ridiculous. It's totally unnecessary. So they're the ones who started the childhood obesity epidemic." Chuck just shrugged and said it tasted good. Of course it tasted good. I was just incredulous at his revelation.

I filed this news away in my brain under absurd and things to make Chuck for his birthday. Because even though the whole idea of buttering bugles is preposterous to me, I love a good food memory and surprising my husband. Unfortunately I didn't think it through because my daughter had some (and of course loved it), so now I've inadvertently turned this into a food memory for her too. Which either makes me evil or the best mom ever. Since I'm leaning towards evil, my advice to you is don't butter your bugles. Which I probably don't have to tell you because you live in 2012 and get your cholesterol tested regularly and can see for yourself that it's totally superfluous, preposterous and borderline irresponsible (not to mention buttery, warm and crunchy).


BAKED BUTTERED BUGLES

1 (14.5 oz.) bag Bugles
6 tablespoons unsalted butter


1.      Preheat oven to 300° F.
2.      Spread the bugles out on a sheet pan.
3.      Melt the butter, pour over the bugles and mix.
4.      Bake for about 45 minutes, mixing every 15 minutes, until dry.

melted butter
pouring butter over the bugles
buttered bugles before baking
It just wouldn't be baked buttered bugles without
a glass bottle of coke to wash them down. For some reason
I'm picturing Chuck at his grandparents' house sprinkling
pop rocks over his captain crunch, followed by a
refreshing candy cigarette and a rousing BB gun fight.

It's not easy to find coke in a bottle these days. I found
this one at Wegmans in the International aisle (it's
Mexican coke made with cane sugar instead of corn syrup).
.

Wednesday, May 9, 2012

Chanana Balls (Cheese-Banana Balls). You heard me.

Really more blobular than ball-like, this is the culinary creation of my 7-year-old daughter Madeline. She announced one morning that she had an idea for a recipe and wanted to make it into a blog post. Not wanting to be a dream squasher, I said okay, braced myself and hoped for the best. Actually, I really just hoped for not gross (since I knew I'd be required to taste this concoction). I didn't get really nervous until I saw her reach for a banana and put it down next to the cheddar cheese. But it wasn't as nasty as it sounds. And that's all I'm going to say about it (she's seven, she can read).


CHANANA BALLS
 Yield: 6 blobules

1 banana, peeled
1 7-year-old size fistful of shredded cheddar cheese
1 slice american cheese, ripped into pieces
pinch of salt


1.      Have your mom preheat the oven to 375º F.
2.      Have your mom slice the banana in half lengthwise and then thinly slice into half circles.
3.      Mash everything together in a bowl.
4.      Try to eat the salt directly out of the salt bowl until your mom tells you for the fiftieth time not to eat salt and puts it away. Glare at her.
5.      Mold banana abomination mixture into 6 “balls” and place them on a sheetpan.
6.      Have your mom put them in the oven. Bake until the cheese starts to melt, about 5-7 minutes.
7.      Let cool for a few minutes. Eat immediately, before the banana starts to turn grayish-brown (you wouldn’t want them to look unappetizing). 

Copyright © by Madeline Cleland. No rights reserved.
raw chanana balls
raw chanana ball up close
baked chanana balls
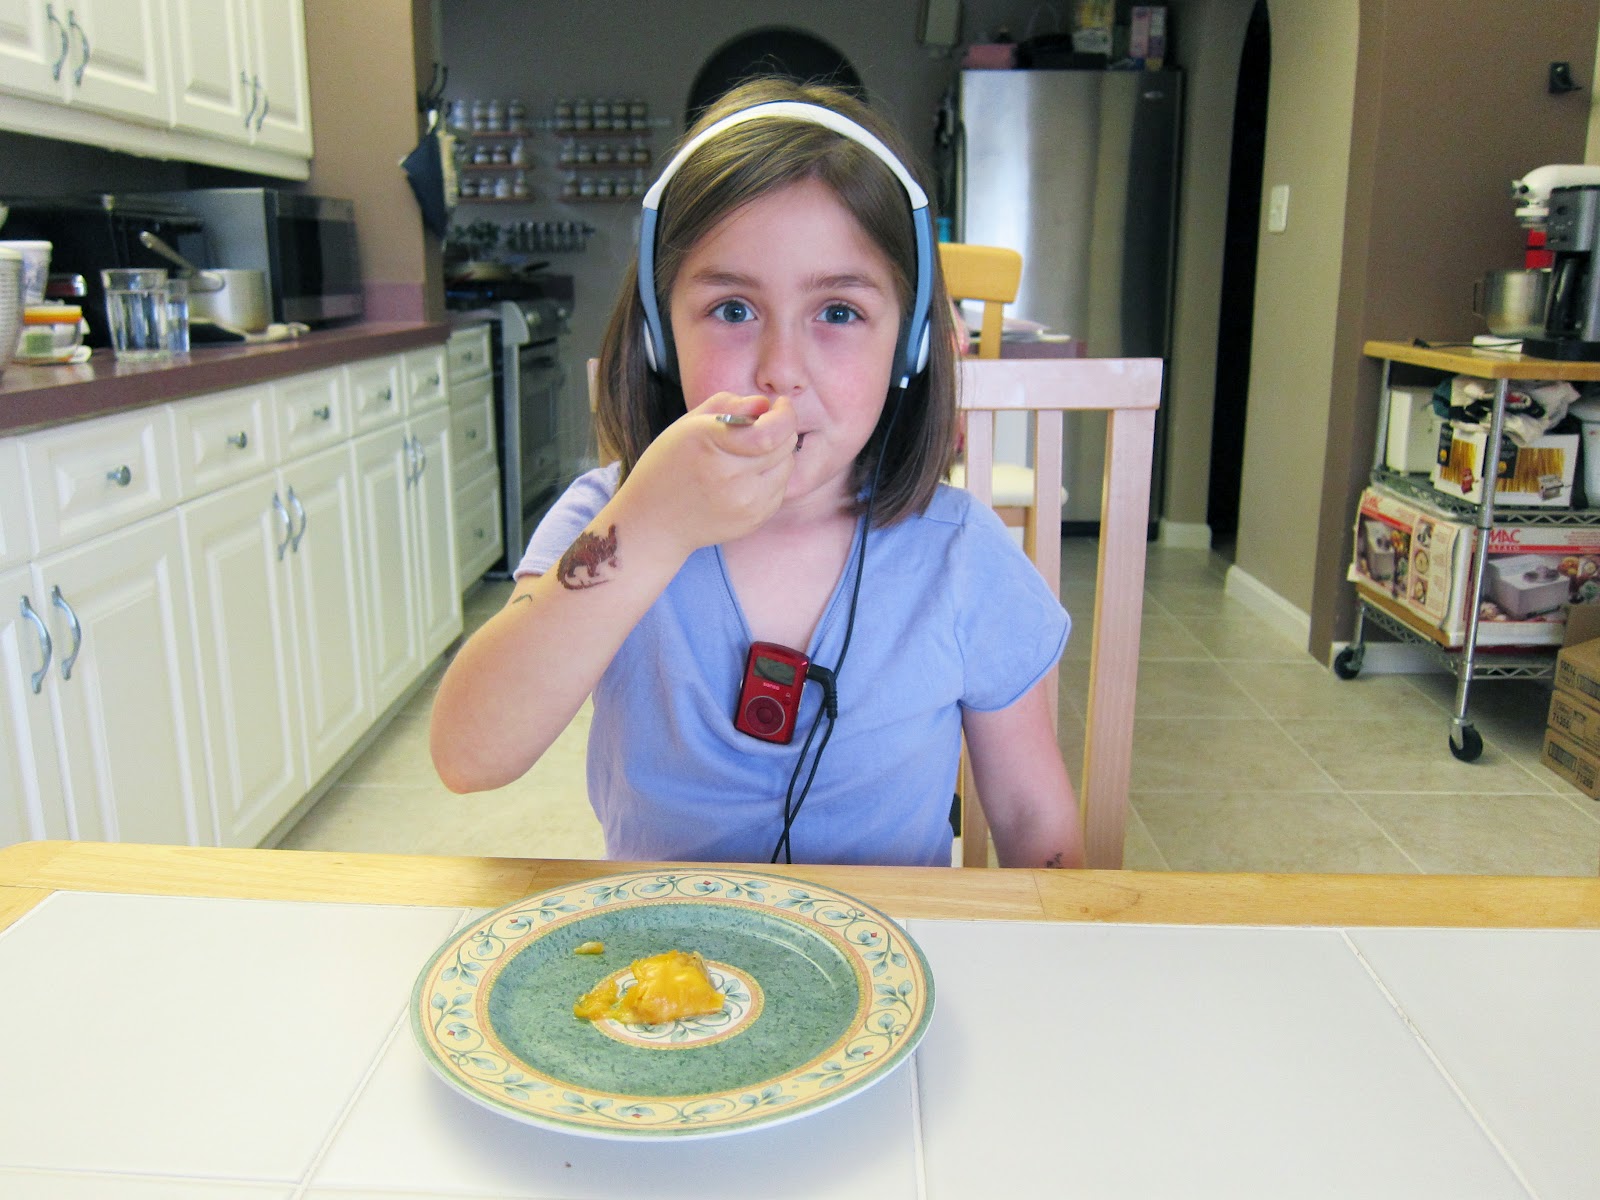
Covered in dinosaur tattoos and sporting an mp3 player & headphones,
our young chef couldn't be more proud (or fearless, if you ask me).
She's really doing it.
The first taste of the first ever chanana
ball (I'm just assuming here).
thumbs up

Actually, she loved them so much that she made a second
batch a few days later. And I would like to point out that I
ate one from the second batch too, which I believe gives me
another check in the good mother column (I need those to counter
balance the all those checks I racked up in the insanely-irritable-
sleep-deprived-bitch column when she was younger).
.

Thursday, August 25, 2011

Avocado with Savory Tomato Sorbet and Chips

I'm tagging this recipe as a definite don't. I like all the ingredients, so theoretically, it should have been mediocre at the very least. But somehow the whole is way less than the sum of its parts. It's too bad, I love unusual dishes like this so I had high hopes, especially because the reviews were so positive. They really sold me. To be fair, maybe I did something wrong, I don't know. I did follow the directions. I hesitated to post it, but I thought some of you might be interested (especially if you saw this recipe online and thought about trying it). If I can save one person from having to taste this, my work here is done.


AVOCADO WITH SAVORY TOMATO SORBET AND CHIPS
Makes 8 servings

tomato sorbet:
4 large ripe tomatoes, chopped
3/4 cup tomato juice
1/2 teaspoon extra virgin olive oil
juice of 1 lime
1 teaspoon hot sauce (preferably Tabasco)
1/2 cup water
1/4 teaspoon sea salt

1/4 cup extra virgin olive oil
1 small onion, diced
2 ripe avocados
olive oil cooking spray
1 small lime, peeled, membranes removed from segments, and segments diced
1/4 teaspoon sea salt
8 baked corn chips, crushed
freshly ground black pepper
12 leaves cilantro, roughly chopped
_______________________________________________________________________

1.      Blend tomatoes, tomato juice, oil, lime juice and hot sauce with 1/2 cup water in a blender or food processor until smooth. Strain through a fine-mesh sieve; discard solids. Add the salt. Freeze in an ice cream maker, according to manufacturer’s instructions. Store in freezer.
2.      Heat olive oil in a medium saucepan over medium heat. Cook onion until tender, about 10 minutes. Reduce heat to low; cook 10 minutes more. Remove from heat; cool to room temperature. Blend in a blender until smooth. Strain through a fine-mesh sieve; discard solids. Set aside.
3.      Slice avocado thinly and divide among 8 small plates, fanning out slices to form a flat surface. Coat avocado with cooking spray; cover with plastic wrap until needed (to prevent oxidation).
4.      Place diced lime on and around avocado. Sprinkle with 1/4 teaspoon salt. Place 1 scoop sorbet on top of avocado slices; drizzle with 1 teaspoon onion oil. Divide chips among plates; sprinkle with black pepper. Garnish with cilantro.

from Self, May 2010 by José Andrés
beautiful summer tomatoes
all the sorbet ingredients in the food processor
pureed
straining the puree
pouring the puree into the ice cream machine
tomato sorbet (bleck!)
cooking the onions
I blended these and I guess I went too far because
it turned into a puree instead of something strainable.
There was no way I was getting any oil to separate from
this, so I tried again. Maybe this whole recipe just wasn't
meant to be for me.
I tried again...this time I didn't even blend the onions and oil.
I just strained out the onions. The oil was delicious (that
I would make again).
avocado (save yourself the time and
discomfort and just eat one of these plain)
cutting off the lime peel
avocado slices, diced lime and salt arranged on the plate
(that probably tastes great...I should have just made this)
crushed corn chips (also very tasty on their own)
.

Monday, June 20, 2011

Watermelon-Raspberry Ice Pops

I should really call this post "ice pop dos and don'ts" because my first attempt was a borderline fiasco (I say borderline because if I don't get burned or cut or drop an entire pan of something on the floor, it isn't a full-blown fiasco). Go ahead and scroll down to the photo captions and you'll see what I'm talking about.

Anyway, technical problems aside, I think these ice pops are a delicious way to use up leftover watermelon (and you know when you buy a whole watermelon, there will be leftover). And if you mess up the first batch like I did, don't despair (just let it melt until it's a little slushy, mix in some rum and call it a daiquiri).


WATERMELON-RASPBERRY ICE POPS
Yield: 2 cups (about 6 to 8 pops)

3 cups seedless watermelon cubes (about ½-inch each)
1 small container fresh raspberries (about 1 1/2 cups)
approx. 1/2 cup sugar or sweetener of choice (add to taste)
3 tablespoons fresh lemon juice
______________________________________________________________________

1.      Combine all ingredients in a blender or food processor; puree until smooth.
2.      Strain puree, pressing to extract as much liquid as possible.
3.      Pour into popsicle molds and insert sticks. Freeze for at least 4 hours (or better yet,
       overnight).

If you don't have popsicle molds, you can just fill some little paper cups, cover tightly with plastic wrap and poke in some popsicle sticks. That's how the cavemen did it.


watermelon slice
chopped watermelon
raspberries
lemon
ready to blend
blended
straining
I filled one all the way and then filled the rest
about 1/3 full, so I could use some leftover plain
lemonade and make stripes.
the white stripes are a layer of lemonade (they're a little
hard to see with the bright light from the freezer)
Here's when I realized I had a problem. I thought
I had plenty of room for the stick while the top watermelon-
raspberry layer was still liquidy, but once the lemonade
layer was frozen solid, I couldn't fit the stick in far enough.
I knew it would be pretty tough to unmold an ice pop with
no stick. But then I learned it's also not a good idea to
unmold one with a stick that hasn't been frozen long enough.
I only had one more with a stick, so this time I waited until
the next morning and with a little warm water, it popped right out.
After my first failed attempt, I tried again. This time my
goal was to successfully put out one batch of unbroken ice pops
(and not to show off with fancy stripes). Mission accomplished
(but for real, not in a George Bush kind of way).
.