Showing posts with label cake. Show all posts

Monday, October 21, 2013

Hi Hat Chocolate Cupcakes

I made these cupcakes mainly to see if they would work. I was pretty sure when I dipped the frosting in the chocolate that I'd be left with big gloppy mess. But much to my surprise and delight, it all went according to Martha Stewart's plan. (How could I ever have doubted her?) I should note that even though they look inviting, I did make a mistake and leave the water out of the frosting, which caused the sugar not to dissolve completely and added a little unwanted crunch (which my daughter actually liked).

I was little embarrassed to send them to school for the Harvest Eve bake sale, but then I realized since my husband dropped them off and we keep a pretty low profile that they might not even realize they were from me. Also, anyone who bought one didn't find out my error until after they paid the school...and who's going to ask for their money back for a fundraiser cupcake? A wanker who deserves crunchy frosting, that's who (I've been watching a lot of BBC America).


HI HAT CHOCOLATE CUPCAKES
Yield: 12

Chocolate Cupcakes:
1 cup all-purpose flour
1 cup sugar
½ cup cocoa powder
1 teaspoon baking powder
½ teaspoon baking soda
½ teaspoon salt
½ teaspoon instant espresso powder
½ cup milk
¼ cup vegetable oil
1 egg
½ teaspoon vanilla extract
½ cup boiling water
Frosting:
1 3/4 cups sugar
1/4 cup water
3 large egg whites
1/4 teaspoon cream of tartar
1 teaspoon vanilla extract
1/4 teaspoon almond extract

Chocolate Coating:
2 cups chopped (12 oz.) semisweet chocolate
3 tablespoons coconut oil (or vegetable oil)


1.      Preheat oven to 325º F. Place 12 cupcake liners in a standard size 12-cup muffin tin.
2.      In a large bowl or kitchen aid bowl, combine flour, sugar, cocoa, baking powder, baking soda, salt and espresso powder. Whisk (or use paddle attachment) until well combined.
3.      Add milk, vegetable oil, eggs, and vanilla to flour mixture and mix together on medium speed until well combined. Reduce speed and carefully add boiling water. Beat on high speed for about 1 minute to add air to the batter.
4.      Fill each cupcake liner about 3/4 full with batter.
5.      Bake for about 20 minutes or until a toothpick inserted in the center comes out clean.
6.      Cool cupcakes completely before frosting.
7.      Prepare the frosting: In a large heatproof bowl, combine sugar, water, egg whites, and cream of tartar. Using a handheld electric mixer, beat on high speed until foamy, about 1 minute. Set bowl over a pan of barely simmering water. Beat on high speed until frosting forms stiff peaks, about 12 minutes; frosting should register 160º F on a candy thermometer. Remove from heat; stir in vanilla and almond extracts, and beat for 2 minutes more until frosting thickens.
8.      Transfer frosting to a large pastry bag fitted with a 1/2-inch plain pastry tip. Leaving a 1/8-inch border on each cupcake, pipe a spiral of frosting into a 2-inch-high cone shape, using about 1/2 cup of frosting per cupcake. Transfer cupcakes to a baking sheet, and refrigerate while preparing the chocolate coating.
9.      Prepare the chocolate coating: Combine chocolate and oil in a medium heat-proof bowl set over a medium saucepan of barely simmering water; stir until melted and smooth. Transfer to a small bowl, and let cool about 20 minutes.
10.  Holding each cupcake by its bottom, dip cupcake in the chocolate to coat frosting, allowing excess to drip off. Transfer to a baking sheet fitted with a wire rack. Spoon more coating around edge of cupcake and any exposed frosting; none of the frosting should show. Let cupcakes stand at room temperature 15 minutes.
11.  Carefully remove paper liners from cupcakes, and discard. Place cupcakes on a serving platter, and refrigerate for 30 minutes to let coating set. Cover, and refrigerate for 2 hours more. Serve cold. Cupcakes can be refrigerated for up to 3 days.

chocolate cupcakes from addapinch.com
concept, frosting and chocolate coating from Martha Stewart
dry ingredients mixed together
adding milk, oil, egg and vanilla
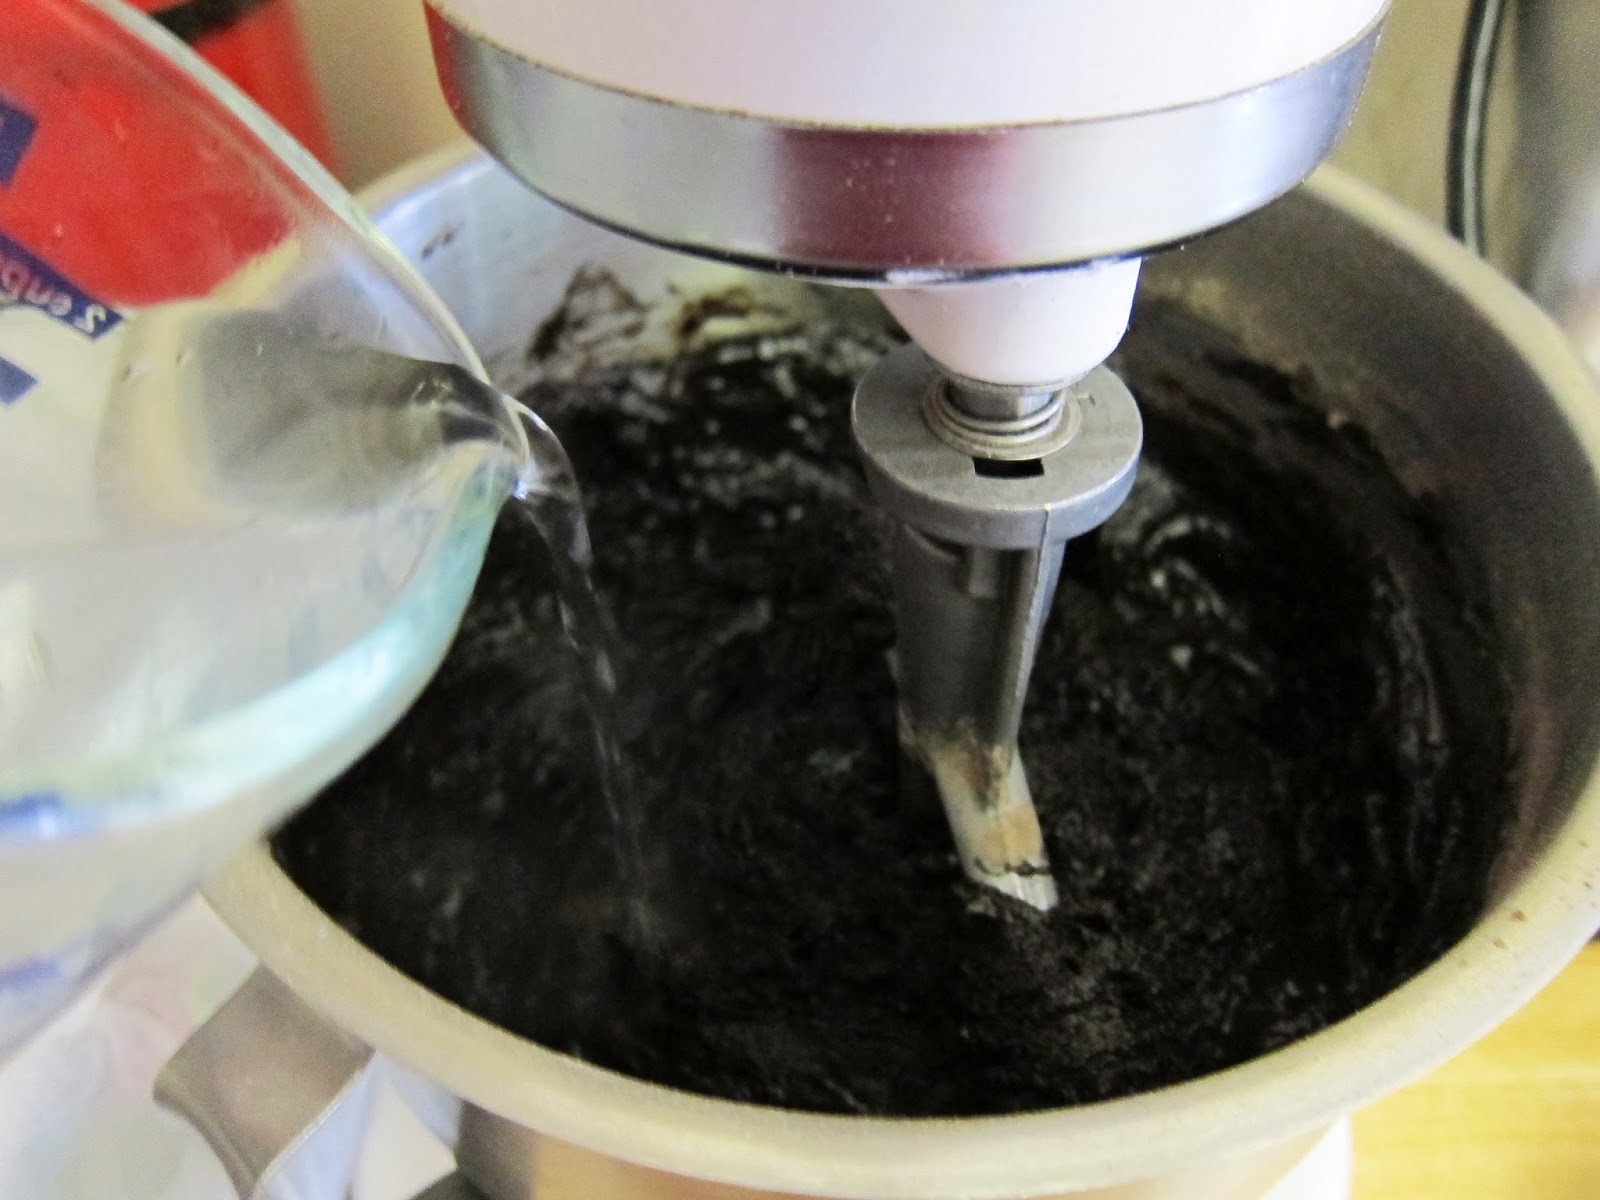
adding boiling water
batter in cupcake liners
baked
sugar, egg whites and cream of tartar

My egg white mixture never got frothy (which should
have been my first clue that I had forgotten to add the
water). But I missed that clue and just kept on going.
beating over simmering water

Even though I had forgotten the water,
everything was going along swimmingly.
stiff peaks forming

The color only looks weird because of the
bad lighting by my stove. Also, if this looks
like a lot it's because I made 3x the recipe.
adding homemade vanilla extract & almond extract

Still looking good.
stiff peaks again

At this point I tasted the frosting and noticed a slight
crunch from the sugar that never quite dissolved completely.
That's when I realized that I had left out the water. I didn't
have time (or the eggs) to make another batch of frosting,
so crunchy frosting it was. Consider this a cautionary tale.
piping on the slightly crunchy (but still tasty) marshmallowy frosting
piped
dipping

Yes, I was nervous all the frosting
would melt right off...but it didn't!
hi hat cupcakes drying
.

Sunday, April 7, 2013

Angry Birds Cake Pops

I made these angry birds cake pops yesterday for my daughter's 8th birthday party. I'm posting them in the hopes that you will learn from my mistakes (if I can keep just one person from going through what I went through, it will all have been worth it). Actually, not even close. I'd have to keep more like 10 people from repeating this fiasco to make it seem remotely worth it. Even then, I'm not so sure. Here's the whole pathetic story:
 
First of all, these took me two full days, so if you have a life, I recommend you order cupcakes from the local bakery. I spent several hours of the first day shaping beaks, feathers and pig's ears from colored fondant. I also baked the cake, which I burned, so then I went to the store for more eggs and baked another cake. Then I had the brilliant idea to use nutella instead of frosting. But after shaping all the balls, triangles and ovals and dipping the first round in the candy melts, I realized the pops were dripping oil. I assumed it was hazelnut oil from the nutella and that I'd made a horrible mistake. So I threw out the entire batch. I'm not ashamed to admit that I cried a little at this point because I was exhausted and the realization that I had to start from scratch and bake a third cake made me feel defeated to say the least. Actually, I am a little ashamed, because after all, we're talking about cake pops here.

Anyway, I forged ahead and baked yet another cake and used chocolate frosting this time. After shaping everything yet again, I began the dipping process for the second time. And those effing cake pops were still dripping oil! At this point I wanted to curl up in the fetal position under the covers with a pint of Ben & Jerrys. This time I assumed it was the candy melts. I've never used those before (only melted chocolate), so all things being equal, I figured that was the problem. Which meant I would just have to work with it the best I could. So I struggled for hours (especially with the green, which was very clumpy and uncooperative and basically had to get spackled on to each pop by hand) and eventually I learned to add a little coconut oil to help thin out the melts. Of course that didn't help with the drippy oil problem, but it got the pops coated. Eventually.

Now this next part is just a stunning example of sheer stupidity. I wanted to keep the cake pops cool at the party, so I tried to stuff the entire stand into a cooler bag. In my defense, it's a huge cooler bag. But of course that went horribly wrong and by the time I got it out of there, there were stray beaks, ears and feathers scattered across the bottom of the cooler. Yes, I could have melted more candy melts and reattached them, but that was my breaking point, so I officially gave up and deemed them good enough. I figured there were enough cute ones in the front still showing. So I guess this is a story of both perseverance and knowing when you've been beaten by cake pops.

Side note: I didn't post the recipe because I've made cake pops and posted them before. The only things I did differently here were using store-bought fondant (Satin Ice) and candy eyeballs for decorations and candy melts for coating (I used m&m's for the snouts and piped the orange coating/dark chocolate for eyebrows). I didn't document the whole process with photos because I was too busy wishing I was dead to pick up the camera.
.

Thursday, December 6, 2012

Pumpkin Roulade with Ginger Buttercream

I could blame the lopsided swirl on my uneven oven (it hasn't been level ever since we had the kitchen floor replaced). Or I could pin it on my daughter - who walked up to the cake while it was rolled in the towel and gave it a good squeeze (which was followed by a little talk about never squeezing anything unless you know what it is and you're sure it wants to be squeezed). But regardless, this cake is awesome. I've had pumpkin rolls before, usually with cream cheese filling. And I thought that's how I liked them best. But man am I glad I tried this because the ginger mascarpone filling is (at the risk of quoting Guy Fieri), off the hook. I couldn't help it...it just is.


PUMPKIN ROULADE WITH GINGER BUTTERCREAM
Yield: 8 servings

cake:
3/4 cup all-purpose flour
1/2 teaspoon baking powder
1/2 teaspoon baking soda
1 teaspoon ground cinnamon
1 teaspoon ground ginger
1/4 teaspoon ground nutmeg
1/2 teaspoon kosher salt
3 extra-large eggs, at room temperature
1 cup granulated sugar
3/4 cup canned pumpkin (not pie filling)
1/4 cup confectioners' sugar, plus extra for dusting

filling:
12 ounces Italian mascarpone cheese
1 1/4 cups sifted confectioners' sugar
2 tablespoons heavy cream
1/4 cup minced dried crystallized ginger (not in syrup)
pinch kosher salt
_____________________________________________________________________

1.      Preheat the oven to 375º F. Grease a 13- x 18- x 1-inch sheet pan. Line the pan with parchment paper and grease and flour the paper.
2.      In a small bowl, sift together the flour, baking powder, baking soda, cinnamon, ginger, nutmeg, and salt and stir to combine. Place the eggs and granulated sugar in the bowl of an electric mixer fitted with the paddle attachment and beat on medium-high speed for 3 minutes, until light yellow and thickened. With the mixer on low, add the pumpkin, then slowly add the flour mixture, mixing just until incorporated. Finish mixing the batter by hand with a rubber spatula. Pour into the prepared pan and spread evenly. Bake the cake for 10 to 12 minutes, until the top springs back when gently touched.
3.      While the cake is baking, lay out a clean, thin cotton dish towel on a flat surface and sift the entire 1/4 cup of confectioners' sugar evenly over it. (This will prevent the cake from sticking to the towel.) As soon as you remove the cake from the oven, loosen it around the edges and invert it squarely onto the prepared towel. Peel away the parchment paper. With a light touch, roll the warm cake and the towel together (don't press!) starting at the short end of the cake. Allow to cool completely on a wire rack.
4.      Meanwhile, make the filling. In the bowl of an electric mixer fitted with the paddle attachment, beat the mascarpone, confectioners' sugar, and cream together for about a minute, until light and fluffy. Stir in the crystallized ginger, and salt.
5.      To assemble, carefully unroll the cake onto a board with the towel underneath. Spread the cake evenly with the filling. Reroll the cake in a spiral using the towel as a guide. Remove the towel and trim the ends to make a neat edge. Dust with confectioners' sugar and serve sliced.

from Ina Garten

flour and spices
eggs and sugar
eggs thickened; adding pumpkin
adding flour mixture
batter mixed
batter spread in pan
baked pumpkin cake
peeling off the parchment
rolling the cake

I was pretty nervous right about now, but it was easy.
cake rolled and wrapped; cooling

I couldn't be too mad at my daughter for
squeezing it. She didn't know what it was.
I probably would have squeezed it too.
mascarpone, cream and sugar
adding chopped crystallized ginger and salt

I highly recommend Reed's
c
rystallized ginger (my favorite)
ginger "buttercream"

I'm not sure why Ina calls this a
buttercream (clearly there's no butter in it).
cake unrolled; spreading the filling
filling spread
rolling the cake again
cake rolled
 

At this point, I wrapped it in the towel again and
put it in the fridge overnight. I'm sure plastic wrap
would have been fine, but the towel was already
there and I knew it wouldn't stick.
pumpkin roulade with ginger buttercream
(sprinkling
with confectioners' sugar)
.

Friday, November 16, 2012

Cranberry Walnut Upside Down Cake

I think this cake is great choice for people who don't like cranberry sauce, but still want cranberries represented in their holiday meal. Personally, I love cranberry sauce, so I won't be making this on Thanksgiving. Besides, by the time I make something pumpkiny, appley and possibly pecany, there just isn't room at the table (or in my stretchiest of waistbands) for anything else.

  
CRANBERRY WALNUT UPSIDE DOWN CAKE
Makes 8 servings

topping:
1/2 stick (1/4 cup) unsalted butter
3/4 cup packed light brown sugar
1 3/4 cups fresh or frozen cranberries (7 oz.—do not thaw if frozen)
3/4 cup coarsely chopped walnuts (3 oz.), toasted

cake:
1 1/2 cups all-purpose flour
1 1/2 teaspoons baking powder
1 teaspoon baking soda
1/2 teaspoon salt
1 stick (1/2 cup) unsalted butter, softened
3/4 cup granulated sugar
2 large eggs
1/2 teaspoon vanilla extract
1/2  teaspoon lemon zest
3/4 cup well-shaken buttermilk

lightly sweetened whipped cream for serving


1.      Make topping: Melt butter in a well-seasoned 10-inch cast-iron skillet over moderate heat; swirl to coat bottom and side of skillet and stir in brown sugar. Simmer, stirring, until sugar is dissolved, 1 to 2 minutes, then sprinkle cranberries and walnuts evenly over butter mixture and remove from heat.
2.      Make cake batter: Put oven rack in middle position and preheat oven to 350° F.
3.      Whisk together flour, baking powder, baking soda, and salt; set aside.
4.      Beat together butter and sugar in a large bowl with an electric mixer at high speed until light and fluffy, 4 to 6 minutes.
5.      Add eggs, one at a time, beating well after each addition. Beat in vanilla and lemon zest.
6.      Reduce speed to low and add flour mixture alternately in batches with buttermilk, beginning and ending with flour mixture and mixing until just combined (do not overmix).
7.      Bake cake: Heat topping in skillet over moderately high heat until it starts to bubble, then gently spoon batter over topping and spread evenly. Quickly transfer to oven; bake until cake is golden brown and a wooden skewer comes out clean, 25 to 30 minutes.
8.      Cool cake in pan on a rack 15 minutes. Run a thin knife around inside edge of pan, then invert a serving plate over pan and invert cake onto plate.
9.      Cool completely on plate on rack, 1 hour. Can be made 1 day ahead and kept, wrapped in plastic wrap, at room temperature. Serve cake at room temperature with whipped cream.

barely adapted from Gourmet, November 2005
fresh cranberries (still in the bag)
melting the butter & brown sugar
cranberries and walnuts sprinkled on top
butter and sugar
adding egg
adding vanilla extract and lemon zest
adding flour
adding buttermilk
batter mixed
getting bubbly
spreading the batter on top
batter spread; ready to bake
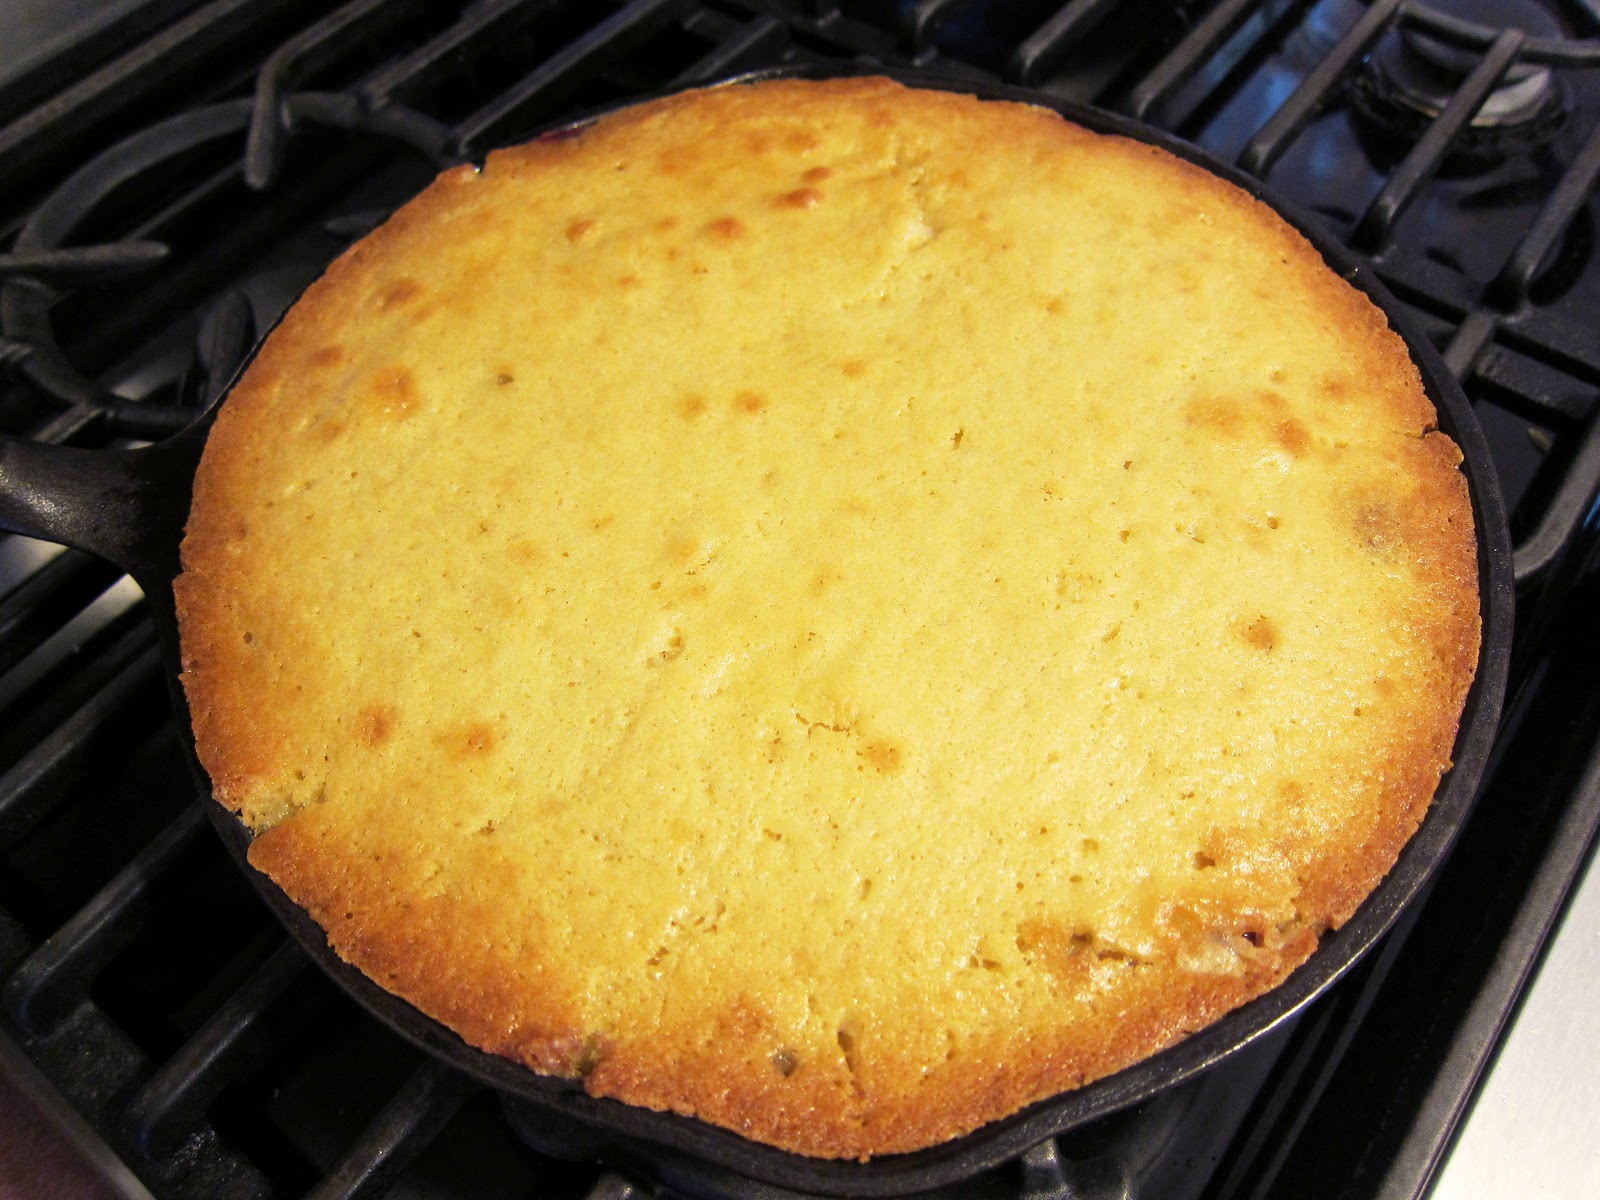
baked
cranberry walnut upside down cake

I think I waited a few minutes too long when I unmolded
my cake (I have a feeling the top should be slightly wetter/drippier
when you remove the cake). So if you're easily distracted like
I am, set your timer.
extreme closeup
slicing

This cake is moist and the tart cranberries really
balance out the sweetness so it isn't over the top. The walnuts
add some nice crunch, in addition to the nutty flavor.
slice
.