Showing posts with label bread. Show all posts

Wednesday, January 1, 2014

Cream Cheese Cinnamon Rolls

I love a good sweet roll, especially one that is cinnamony. Throw in a little cream cheese and I'm in heaven. These cinnamon rolls are just right. They're moist, but not gummy or soggy in the middle. They have a great ratio of bread to filling. And even though the long directions may sound complicated, they're really very easy. You can even do all the work the night before and bake them the next day (perfect for Christmas morning). I already made these again this morning for New Year's Day (no wonder my stomach looks like a cinnamon roll).


 CREAM CHEESE CINNAMON ROLLS
Yield: 8 large rolls

Dough:
1 (¼-oz.) package active dry yeast
½ teaspoon plus ¼ cup sugar
½ cup milk, at room temperature
2 tablespoons light brown sugar
½ teaspoon vanilla extract
1 egg
1 egg yolk
2 ¾ cups flour, sifted, plus more for kneading
¾ teaspoon fine salt
1 stick unsalted butter (room temperature), plus more for the pan

Filling:
½ cup sugar
¼ cup dark brown sugar
¼ cup finely chopped pecans
¼ cup finely chopped walnuts
¼ cup raisins
1 tablespoon ground cinnamon
½ teaspoon fine salt
⅛ teaspoon ground cloves
2 tablespoons maple syrup
4 oz. cream cheese, at room temperature
1 stick unsalted butter, melted

Icing:
2 cups confectioners' sugar
¼ cup buttermilk
_________________________________________________________________________

1.      Make the dough: In the bowl of a standing mixer fitted with a hook, combine yeast, ½ tsp. of the sugar, and ¼ cup water heated to 115° F. Stir to combine and let sit until foamy, about 10 minutes. Add remaining sugar, milk, light brown sugar, vanilla, egg, and egg yolk. Beat on low speed until thoroughly combined, 1 minute. Turn mixer off and add the flour and salt. Mix on medium speed until the dough just comes together. Turn mixer speed to high and knead dough for 4 minutes. Add the butter and continue kneading until dough is smooth and pulls away from the side of the bowl, about 6 minutes. Remove bowl from the mixer, cover with plastic wrap, and set aside in a warm place. Let the dough rise for 1 ½–2 hours, until it has doubled in size.
2.      Meanwhile, make the filling: Combine sugar, dark brown sugar, pecans, walnuts, raisins, cinnamon, salt, and cloves in a large bowl; stir to combine. Stir in maple syrup. Set aside.
3.      Punch the dough down and turn it out onto a heavily floured surface. Gently knead the dough until it's no longer sticky, adding more flour as necessary, about 1 minute. Using a floured rolling pin, roll the dough into a 10" x 10" square. In a small bowl, beat the cream cheese with a rubber spatula until it's smooth and spreadable. Spread the cream cheese evenly over the dough square; then fold square into thirds as you would fold a letter to fit it into an envelope. Take the open ends of the resulting rectangle and fold into thirds again, to make a smaller dough square. Invert the dough so that the seam is face down and, using the rolling pin, gently roll into a 10" x 20" rectangle.
4.      Turn the dough so that the short sides are parallel to you. Brush the top of the dough with half of the melted butter. Drizzle the reserved filling over the dough, leaving a 1" border at the edge farthest away from you. Lightly press the filling into the dough. Using your hands, lift up the bottom edge of the dough and roll it forward into a tight cylinder. Place dough cylinder, seam side down, on a cutting board and, using a thin, sharp knife, trim off the ends; cut cylinder crosswise into 8 equal-size slices. Nestle the slices, cut sides up and evenly spaced from one another, into a buttered 9" x 13" light-colored metal baking pan. Cover pan with plastic wrap and set aside in a warm place to let rise for 2 hours. (Alternatively, the rolls may be refrigerated overnight.)
5.      Heat oven to 375° F. Uncover the rolls. (If refrigerated, let them sit at room temperature for 15 minutes.) Bake until golden brown and a toothpick inserted in the center of the rolls comes out clean, about 30 minutes.
6.      Make the icing: While the rolls are baking, whisk together the sugar and buttermilk in a small bowl until smooth.
7.      Transfer the pan of cinnamon rolls to a cooling rack; brush with remaining melted butter. Let cool for 5 minutes. Dip the tines of a fork into the icing and drizzle all over the rolls. Serve immediately.

yeast, sugar and water
yeast foamy; adding remaining sugar,
milk, brown sugar, vanilla and egg
adding flour and salt
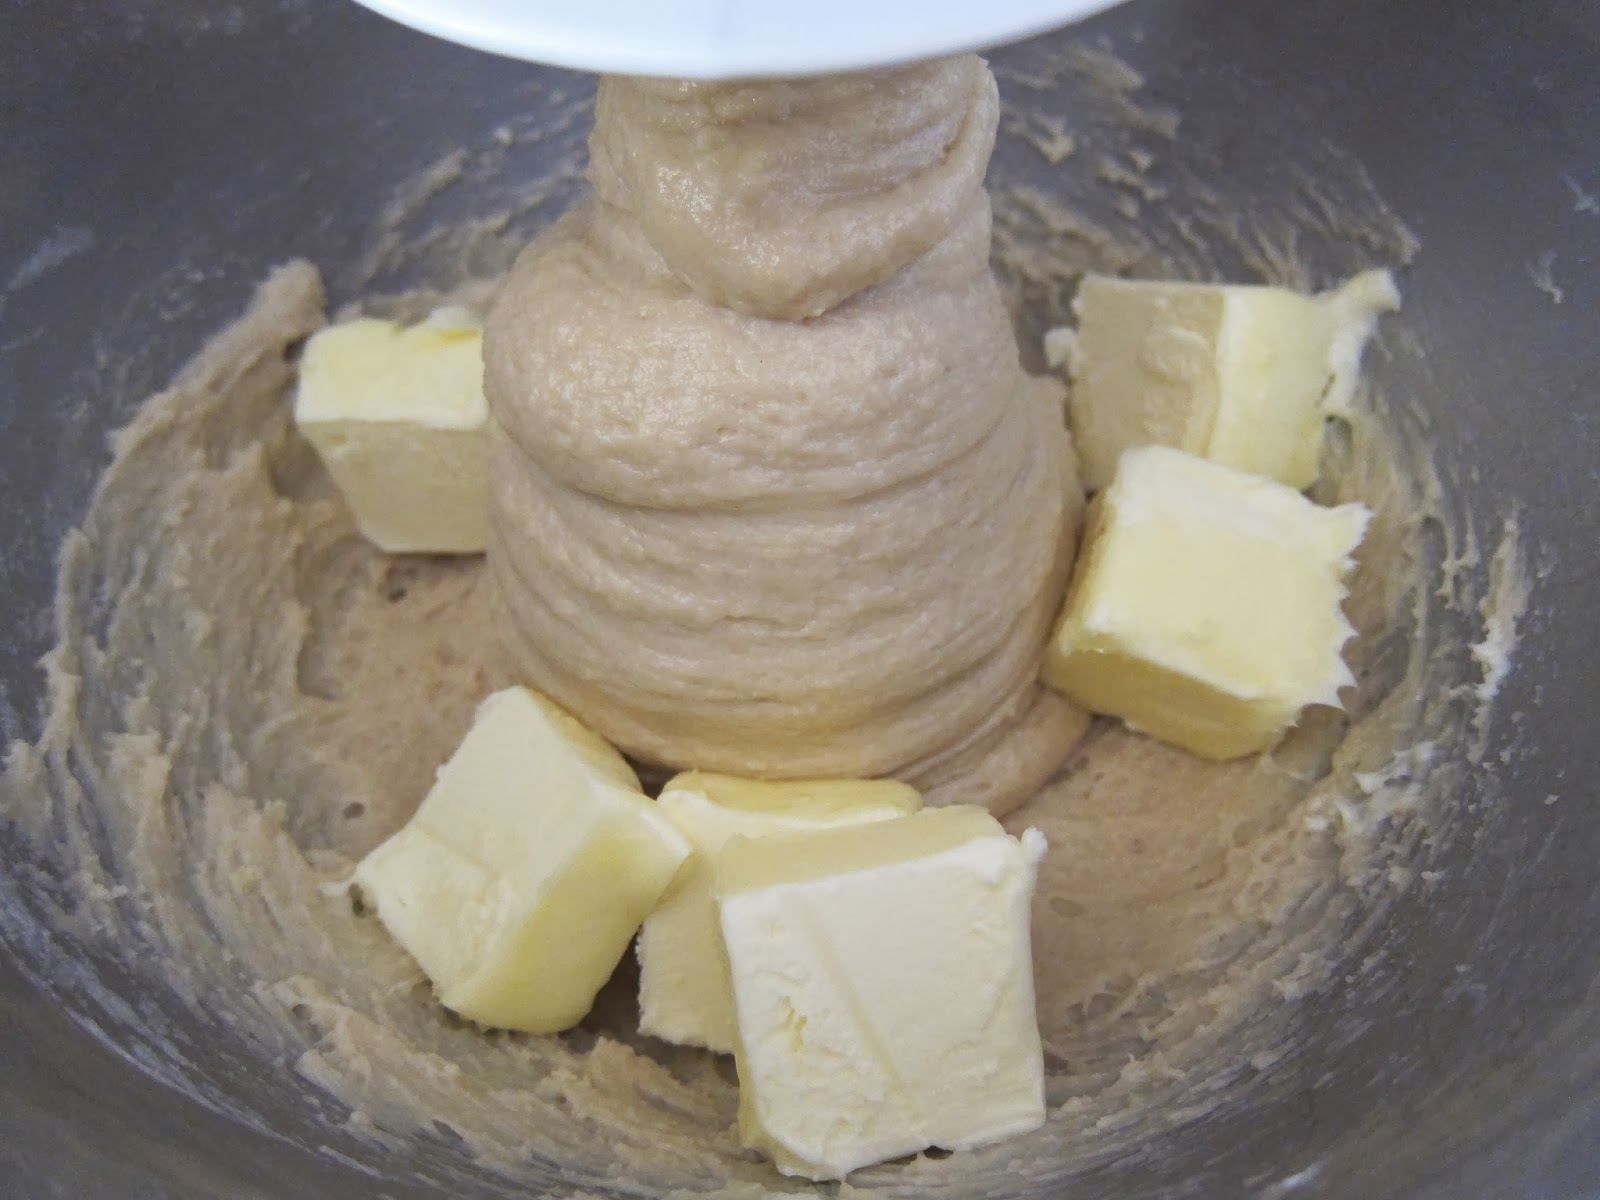
adding butter
The dough never really pulled away from the sides
and it looked so soft to me, I was a little worried
I'd done something wrong - but as you can see,
it all worked out. Adding lots of flour as you
knead and roll helps get the right consistency.
all the filling ingredients mixed
(I used golden raisins, so they're hard to spot.)
dough risen
kneading the punched down dough (or more
accurately, trying to knead the dough with my right
hand while I take a photo with my shaky left hand)
dough rolled into a 10" x10" square (roughly);
starting to spread the cream cheese
cream cheese spread
first fold
second fold
third fold
fourth fold
dough rolled into a 10" x 20" rectangle
(again, roughly)
dough brushed with butter
and topped with filling
rolling
rolled
sliced into 8 pieces
placed in the pan
rolls after rising

I made mine the night before and put them in the fridge
right away because I was going out. And even though
the recipe says to take out and leave at room temperature
for only 15 minutes, it was chilly in the house, so I let
them sit out for about 2 hours so they would rise enough.
baked cinnamon rolls
brushing with butter
drizzling with icing

I didn't use all the icing, it seemed like a little too much.
cream cheese cinnamon rolls
cinnamon roll cross section

In case you're wondering why my kitchen looks so different...I didn't move;
I was at my in-laws' house (these were baked on Christmas morning).
.

Monday, November 11, 2013

Mushroom and Celery Stuffing

I know that technically when you don't cook your stuffing inside your turkey, it's called dressing. But I can't quite bring myself to do that because in my mind, dressing will always be something I drizzle on my salad. So I'm sticking with stuffing. I think we all know what I'm talking about. I've tried a lot of stuffing recipes over the years and maybe I should be ashamed to admit this, but I've never found a homemade one I liked as much as plain old Pepperidge Farm in the bag. I guess it's because that's what I grew up eating (and no, they're not paying me to say this). But I always wanted to find a homemade version I like just as much and this is the one. It's very unassuming - no chunks of sausage, apple or chestnuts (although I do love chestnuts). Just the basics. Sometimes that's all you need.


 MUSHROOM AND CELERY STUFFING
Serves 12

1 large loaf challah bread or decent quality white bread (such as Arnold brand)
2 cups diced celery
2 cups diced onion
2 cups diced cremini mushrooms
8-10 sprigs thyme, chopped
3 sprigs rosemary, chopped
1/4 cup chopped flat leaf parsley
3 cups chicken stock (or vegetable stock for vegetarian), preferably homemade
6 tablespoons butter + 1 stick butter, melted
1 teaspoon salt
1 teaspoon black pepper, freshly ground


1.      Heat oven to 275° F. Cut the bread into cubes, about ¾-inch each. Place cubes on a parchment lined sheet pan toast in the oven for about 45 minutes, stirring every 10-15 minutes. Set aside until completely cooled.
2.      Melt 6 tablespoons of the butter in a large heavy saute pan. Saute the onions until wilted, add the herbs, celery and mushrooms and cook until just slightly cooked through.
3.      In a large bowl, combine bread cubes, vegetables, melted butter and vegetable stock, and salt and pepper. Test for seasoning and adjust.
4.      Press stuffing into a large buttered baking dish. Cover with buttered parchment, and then foil. At this point, the stuffing can be held for several hours, but should be at room temperature before baking.
5.      Bake at 350º F. for 35-40 minutes. Remove the parchment/foil and bake for another 10-15 minutes, to crisp the surface.

adapted from food52.com (submitted by MrsWheelbarrow)
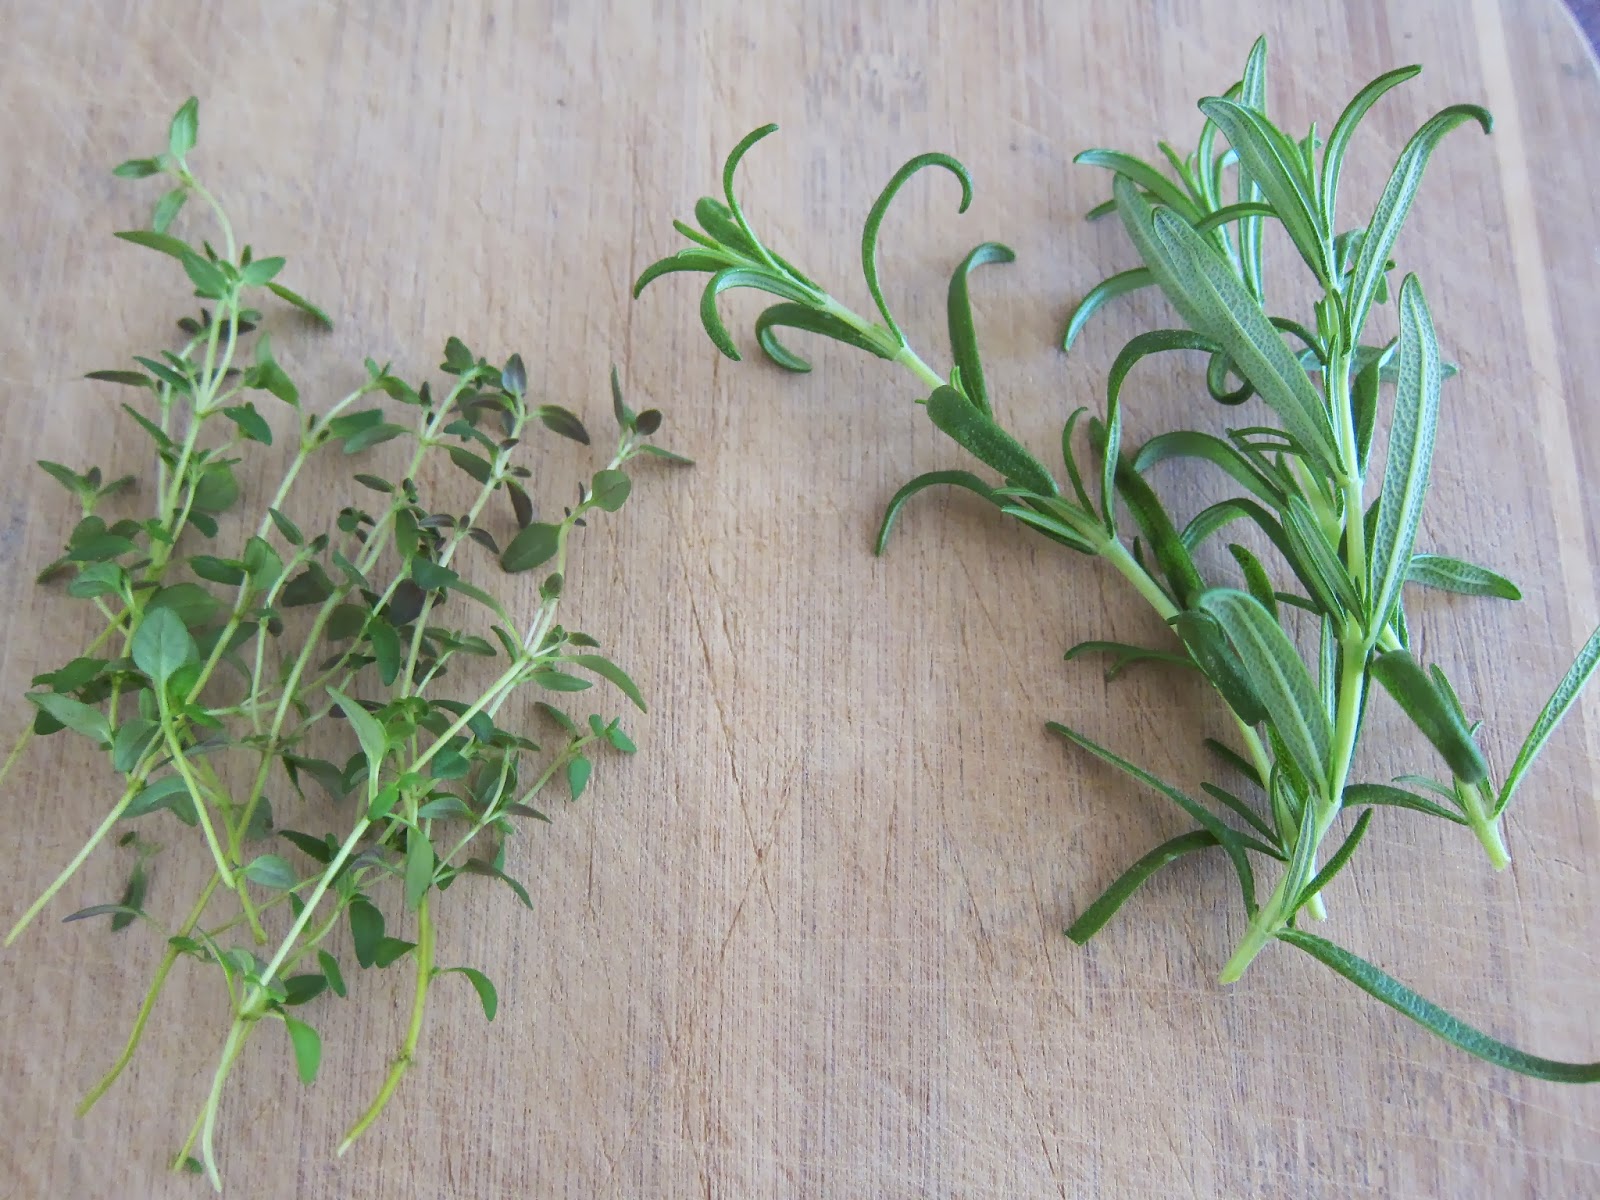
thyme and rosemary
vegetables and herbs in the pot
mixed
adding butter, stock, salt and pepper
adding toasted bread cubes
mixed
in the pan
baked
mushroom and celery stuffing

I love that the inside is moist, while the top is a little crunchy.
.

Thursday, April 25, 2013

Pretzel Hot Dog Buns

I had some friends with kids over recently and thought these pretzel buns might be a fun way to dress up a hot dog. They definitely added a little something...I would say that it's the chewy, salty exterior that really improves upon the classic bun. No one wanted mustard (maybe because I made cheese sauce), but obviously a hot dog on a pretzel bun just screams for it. One of the kids said I could put the Pretzel Factory out of business with these, so she liked them. Don't worry Pretzel Factory, I only have one oven and two silpats (and no ambition).


PRETZEL HOT DOG BUNS
Yield: 14-16 servings

1 cup milk
1/2 cup water
1/4 cup light brown sugar
2 tablespoons honey
1 packet active dry yeast
2 tablespoons unsalted butter
2 small cloves garlic, grated
3 cups all-purpose flour, plus more for dusting
1 cup bread flour
1/2 cup baking soda
pretzel salt or coarse ground sea salt, for sprinkling
________________________________________________________________________

1.      In a small saucepan, heat the milk, water, sugar and honey to 105 to 110º F. Add to the bowl of a stand mixer. Sprinkle the yeast over the water mixture and wait for at least 10 to 15 minutes until the yeast blooms.
2.      In a separate saucepan over medium heat, add the butter and garlic and cook until the butter is melted and the garlic is fragrant, 2 to 3 minutes.
3.      Combine the all-purpose flour and bread flour in a mixing bowl.
4.      Add the flour mixture to the bowl with the blooming yeast, and then add in the melted butter and garlic mixture. Mix on medium speed until the dough has come together and is smooth and elastic in texture and pulling away from the sides of the bowl, 5 to 7 minutes.
5.      Line 2 baking sheets with silicone mats. Turn the dough out onto a lightly floured cutting board and form into a ball. Cut into 7 or 8 equal pieces, and then cut those in half to form 14 or 16 equal pieces. Using your hands, roll each piece into a ball and place onto a prepared baking sheet. Cover with a dish cloth and let them rest in a warm place for 12 to 15 minutes.
6.      Once rested, lightly dust your work surface again and roll the balls into 6-inch logs. Place onto the other prepared baking sheet, cover, place back in the warm spot and let rest for an additional 30 minutes.
7.      Preheat oven to 425º F. Place one oven rack high and one low. Line 2 more baking sheets with silicone mats or parchment paper.
8.      In a large pot, bring 8 cups water to a boil, and then add the baking soda. In batches, place the dough in the water and cook for 30 seconds on each side.
9.      Using a slotted spatula, remove the logs and place onto the prepared baking sheets. Sprinkle the logs with pretzel salt as they come out of the water, to ensure the salt sticks. Then cut 3 diagonal slits on top of the bread, not too deep.
10.  Bake for about 10 minutes or until deep golden brown, rotating between the top and bottom racks of the oven halfway through the cooking.

slightly adapted from Jeff Mauro

yeast sprinkled over warm milk, water, honey, sugar mixture

I put everything in the kitchen aid bowl so I
could avoid washing more dishes than necessary.
pouring garlic butter into the bloomed yeast

Because I was cheating a little and using just one
bowl, I decided to add the liquid first. It just seemed
to make more sense.
adding the flours
smooth dough
dough ball
cut into 8 pieces

This recipe originally had a yield of 8, but the
buns came out way too big, so I changed it.
As a matter of fact, I took one of the balls below
and halved it, just to check the size. Even that bun
came out slightly long, but way more manageable.
dough balls on a silpat
risen dough balls on parchment

I'd love to say that I experimented by using one silpat and
one piece of parchment so I could let you know the results,
but the truth is I could only find one of my silpats. Luckily
you can benefit from my laziness (turns out my other silpat was
easy to find if I had only looked for 30 seconds). So here are
the results: DO NOT USE PARCHMENT. The cooked rolls
stuck. And I mean STUCK. They couldn't be peeled off, but had
to be cut off (which loses some of that nice crusty, chewy outside).
dough rolled into logs
logs risen
adding baking soda to boiling water (it bubbles up)
boiling the dough
boiled dough slashed and sprinkled with salt

I didn't have any pretzel salt, so I just used kosher.
pretzel hot dog buns

You can see the baked buns on the parchment in the
background. You can tell from this photo that the parchment
is totally stuck to the buns, just by the way it's pulling up.
You can also tell how gargantuan the other rolls are compared
to the smaller one (at the very top of the silpat lined sheet pan).
This is one of the smaller buns, so you can imagine
how crazy large the other ones twice the size were.
I wish I'd taken a photo of one with a hot dog in it for
scale. Sorry about that. You'll just have to take my word
for it. They were like torpedoes. Delicious torpedoes.
.