Showing posts with label Christmas. Show all posts

Wednesday, December 21, 2011

Gingerbread House

I've been wanting to make a gingerbread house for years, but I'm always so busy around the holidays, it just hasn't happened...until now! This year I planned ahead and did it bit by bit. One day I made the dough. Another day I rolled & baked it. Another day I assembled the basic house. The next day I shingled the roof. You get the idea. Little by little it came together and eventually I had myself an actual, bonafide gingerbread house.

But I can't take all the credit because I used a template from a book called Gingerbread for All Seasons by Teresa Layman. It's an amazing book full of gorgeous gingerbread houses (for all kinds of occasions) with instructions and a template for making each one. I used the template for the "Nantucket Cottage" and then made mine more wintery (the original one was set in spring).

At first I thought it would be so nice to live in this house. But between the shotty roof work, no running water, and the fact that none of the doors actually open...I decided not so much. Besides, I don't think I can get that small, no matter how many rice cakes I eat. 

I might not be back until some time around the new year, so Happy Holidays to you all!

arranging templates on rolled dough
dough cut outs
baked pieces
assembling the house with royal icing
putting the roof on
basic house and bench assembled

I didn't remember to take photos of every single step. In case
you're curious, the chimney is made by dying some dough red
with food coloring and then scoring the dough before baking
to make the brick pattern. Then you rub white royal icing in
the cracks to make it look like bricks.
putting shingles on the roof (wheat chex)
roof done
I used necco wafers to make the stones for the walkway.
walkway
I spread icing around the house and then sprinkled it with a
little unsweetened shredded coconut to make it look like snow.

I also sprinkled the "snow" with a little edible disco dust from the
baking store to give it a little sparkle - like real, freshly fallen snow.
I sprinkled the roof with confectioners sugar to look like more snow.
I piped green royal icing on ice cream cones to make the trees.
tree
finishing touches added: lantern (gumdrop and black royal icing), wood
pile (pretzels), icicles, wreath and trees (sprinkled with confectioners sugar).
closeup look

I don't know what I was thinking when I piped
that wreath - it should have a hole in the middle.
I didn't do much in the back. I had planned on making
a snowman, but I didn't have enough time. But I did make
a hole back there because I had a brilliant plan to light up
the house using glow sticks (glow bracelets, actually).
As you can see, it only managed to light up one window.
Plus it turns out I only had blue and green glow
bracelets. So really, it was a pretty bad plan.
These are the gingerbread and royal icing recipes from the book.
I wouldn't make this gingerbread for cookies to snack on
(I have a feeling this recipe was created for its sturdiness, not its
tastiness). It's basically edible dry wall. Ideal for construction.

I contacted the author of Gingerbread for all Seasons, Teresa Layman,
and asked her if I could post the actual templates on my blog for my readers to use. She responded right away and said yes (love her!). But I couldn't figure out a way to keep the sizes accurate. So if you're interested in the templates, just send me an email (to the address on the bottom of the about me page of my blog) and I'll email a pdf to you. Thank you Teresa! (I hope I'm not being presumptuous calling you by your first name...I feel we have a real gingerbread connection now.)

My daughter made a gingerbread house too.
Hers has way more excitement & pizzazz. If mine is
Nantucket, hers is Vegas (or maybe Candyland).
.

Monday, December 27, 2010

White Hot Chocolate Malted

Being snowed in isn't all bad, it inspired me to come up with a new hot drink that showcases one of my favorite flavors...malt. I've always felt malt was underrated, so I'm trying my best to create a little buzz. Hopefully you'll buy some malted milk powder next time you go grocery shopping and spread the word.

Being snowed in does have its disadvantages too (like I couldn't go out and buy cream to whip). So try to picture this mug topped with beautifully piped whipped cream and sprinkled with crushed candy canes. FYI: when you sprinkle the candy canes on without the whipped cream, they just fall to the bottom (not a good photo op).


WHITE HOT CHOCOLATE MALTED
Yield: 2-3 servings

4 cups milk
3/4 to 1 cup white chocolate chips (I'm sure dark chocolate would taste good too)
3 tablespoons malted milk powder
1/4 teaspoon vanilla extract
whipped cream (optional)
crushed candy canes (optional)


1.      Combine the milk and white chocolate in a medium saucepan over medium heat.  Stir until all the white chocolate has melted.
2.      Add the malted milk powder and whisk until completely dissolved.  Whisk in vanilla extract.
3.      Divide into 2 to 3 mugs (depends on the size of your mugs).  Top with whipped cream and crushed candy canes if desired.

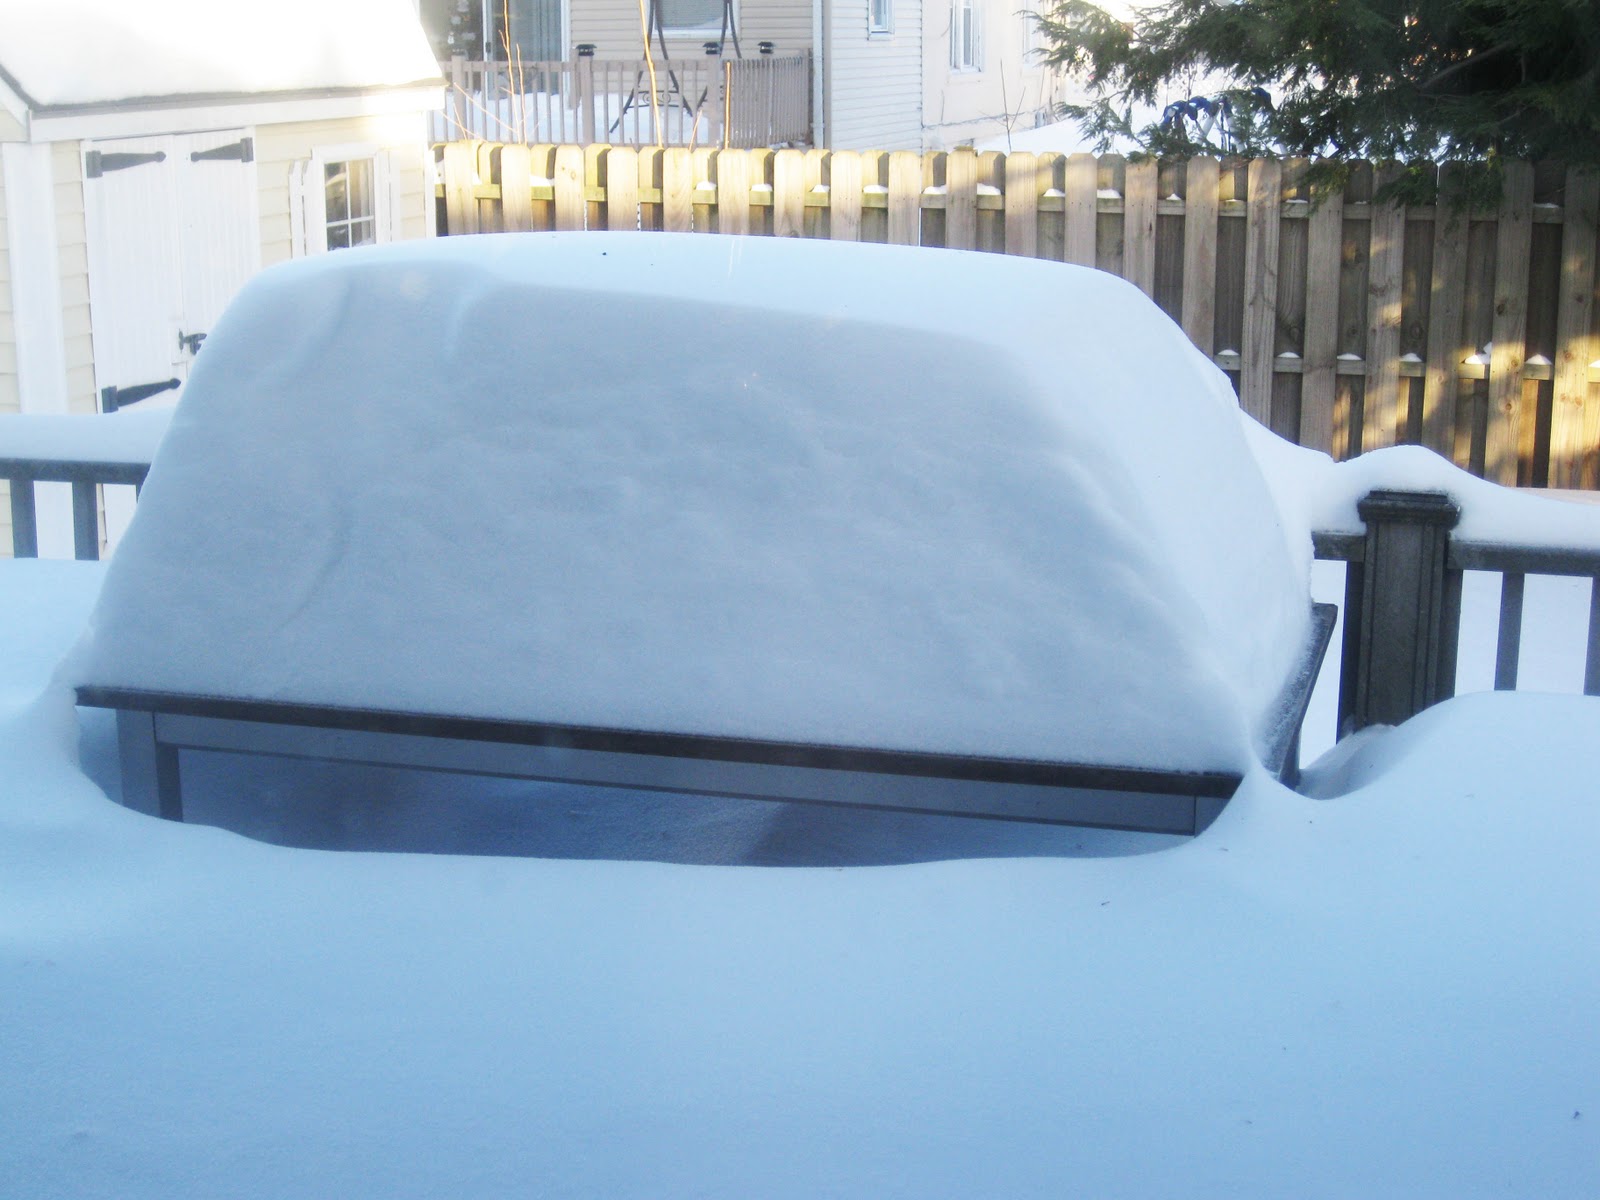
my backyard

I think the official total was 19 inches, but it looks like more if you ask me
(that's not a grill, it's a flat table with snow piled on top)


 There was so much snow, my husband Chuck was able
to build a small hill in the backyard for sledding

Monday, December 20, 2010

Christmas Cookies (Rolled Sugar Cookies)

you can get that swirly effect by making lines
with your icing then dragging a toothpick
through (works best when not too thick)
Maybe you've had this experience (like I have): someone makes beautiful, homemade Christmas cookies. They obviously took a lot of time and care to make them; they look fantastic. Your mouth starts salivating. You reach for one, take a bite and they taste and feel like cardboard. What a letdown.  Now I'm not saying this recipe is anything special, what I am saying is these cookies have the taste and texture of...cookies! So I'm sticking with these.

Don't feel bad if it takes you a really long time to decorate your cookies, it took me three hours and I'm supposed to be a trained professional (that does include making the icing, but not baking the cookies, I did that the day before).
ROLLED SUGAR COOKIES
Yield: approx. 5 dozen (depending on size of cutters) + 3 cups icing

Cookies:
1 1/2 cups butter, softened
2 1/2 cups sugar
4 eggs
2 teaspoons vanilla or almond extract
5 cups all-purpose flour
2 teaspoons baking powder
1 teaspoon salt

Icing:
1 lb. confectioners’ sugar
4 teaspoons powdered egg whites (available in most grocery stores in the baking aisle)
1/3 cup water (plus more as needed)
1 tablespoon fresh lemon juice (optional)
1 to 2 teaspoons vanilla or almond extract
food coloring (optional)


Cookies:
1.           In a large bowl, cream together butter and sugar until smooth. Beat in eggs and extract. Stir in flour, baking powder and salt.
2.           Divide dough into 4 balls and flatten into disks. Cover with plastic wrap and chill dough for at least 1 hour (or overnight).
3.           Preheat oven to 400° F.
4.           Roll out dough on floured surface, ¼- to ½-inch thick. Cut into shapes with cookie cutter. Place cookies 1-inch apart on ungreased or parchment-linedcookie sheets.
5.           Bake 6 - 8 minutes, until barely lightly golden at the edges. Cool completely before decorating.

Icing:
1.      Beat together all ingredients (except food coloring) in a large bowl with an electric mixer at moderate speed until just combined, about 1 minute. Increase speed to high and beat icing, scraping down side of bowl occasionally, until it holds stiff peaks, about 3 minutes in a standing mixer or 4 to 5 minutes with a handheld.
2.      Beat in food coloring (if using). Add more water, 1 teaspoon at a time, to thin to desired consistency (especially if you plan to spread, rather than pipe, the icing).

cookie recipe slightly adapted from allrecipes.com
cut dough before baking
baked dough (they shouldn't have much color)
stiff peaks
white icing before coloring (I made a double batch because I was
making so many colors and didn't want to run out in the middle)
colored icing (I add a little water to each until I get the consistency I want)
Once they go in the squeeze bottles I get lazy; if the consistency isn't quite right
I just deal with it instead of fixing it (these aren't exactly for the Queen of England)
I use these awesome squeeze bottles for decorating...they are way less
messy than pastry bags (especially with a wee one getting into the action).
If you do buy the squeeze bottles, you might want to buy extra round tips (you'll probably use
those the most for cookie decorating). 
I keep my tips and other small stuff in a tackle box.
ready for the school party, just waiting to fulfill their destiny and make all the kids hyper
(even if you think they're all dry, wait a good long time before you pack them up
--unfortunately one of my gingerbread men didn't make it, R.I.P.)


These cookies were made possible by the selfless actions of my husband Chuck, who braved Chuck E. Cheese in order to occupy my daughter and give me a head start.  By the time they got home, I had enough done for her whole class and it was her turn to play!


UPDATE

 I decorated some more cookies just a few days later,
while visiting my in-laws for Christmas.

My mother-in-law Judie, a wonderful cook by the way, decorated these cookies.
She's pretty handy with a squeeze bottle (plus she baked the cookies).

Sunday, November 21, 2010

Peppermint Bark

Aptly named because after making a double batch my dogs are barking!  (I couldn’t resist.)  I make these every year around the holidays and I swear if I didn’t, there would be a revolt.  It’s definitely the most requested holiday treat I've ever made.  You can use those round red/white striped candies, but the little kid in me thinks they taste more like Christmas with actual candy canes.
PEPPERMINT BARK
Makes 36 pieces

17 ounces good-quality white chocolate, finely chopped
6 ounces candy canes, coarsely crushed
7 ounces bittersweet or semisweet chocolate, chopped
6 tablespoons whipping cream
3/4 teaspoon peppermint extract


1.      Turn large baking sheet bottom side up.  Cover with parchment paper. Mark with a 12” x 9” rectangle.
2.      Stir white chocolate in metal bowl set over saucepan of barely simmering water (do not allow bottom of bowl to touch water) until chocolate is melted and smooth and candy thermometer registers 110° F. (chocolate will feel warm to touch).  Remove from over water.  Pour 2/3 cup melted white chocolate onto rectangle.  Using icing spatula, spread chocolate to fill rectangle.  Sprinkle with 1/4 cup crushed peppermints.  Chill until set, about 15 minutes.
3.      Stir bittersweet chocolate, cream and peppermint extract in heavy medium saucepan over medium-low heat until just melted and smooth.  Cool to barely lukewarm, about 5 minutes.  Pour bittersweet chocolate mixture in long lines over white chocolate rectangle.  Working quickly, spread bittersweet chocolate in even layer.  Refrigerate until very cold and firm, about 25 minutes.
4.      Rewarm remaining white chocolate in bowl set over barely simmering water to 110° F.  Working quickly, pour remaining white chocolate over firm bittersweet chocolate layer; spread to cover.  Immediately sprinkle with remaining crushed peppermints.  Chill just until firm, about 20 minutes.
5.      Lift parchment with bark onto work surface; trim edges.  Cut bark crosswise into 2-inch-wide strips.  Using metal spatula, slide bark off parchment and onto work surface.  Cut each strip crosswise into 3 sections and each section diagonally into 2 triangles.
6.      Can be made 2 weeks ahead and refrigerated in an airtight container (or frozen for up to 6 weeks).

Bon Appétit, December 1998

first layer of only white chocolate sprinkled with crushed candy canes

second layer of chocolate ganache being added
third layer of white chocolate being added
done (it just needs to be cut into triangles or broken up)
please note: this photo is a double batch.
extreme closeup


I like to think they have one of these in the big rock candy mountains