Wednesday, February 23, 2011

Mashed Potatoes with Fennel and Rosemary

If you ask me, mashed potatoes don't need much embellishment. They usually hit the spot with just a little butter, milk and salt. But every once in a while, it's fun to mix it up, especially if you're having company over for dinner. Adding fennel, rosemary and crème fraîche definitely takes traditional mashed potatoes to the next level.

   
MASHED POTATOES WITH FENNEL & ROSEMARY
Makes 8 servings

3 large fresh fennel bulbs (about 2 1/4 lb. total)
1 medium onion, cut into 3/4-inch pieces (about 1 3/4 cups)
3 tablespoons extra virgin olive oil
sea salt and freshly ground black pepper
3 pounds Yukon Gold potatoes, peeled and cut into 1 1/2-inch pieces
1 stick unsalted butter
3/4 cup crème fraîche or sour cream
1 tablespoon chopped fresh rosemary


1.      Preheat oven to 375° F. Line large rimmed baking sheet with parchment paper. 
2.      Trim the fennel bulbs and cut into quarters. Remove the center core and discard. Cut into 3/4-inch pieces. Combine fennel, chopped onion, oil, and 1 teaspoon sea salt in large bowl; toss. Spread in single layer on prepared baking sheet; sprinkle with pepper. Roast until fennel and onion are very tender, about 1 hour 15 minutes. Cool slightly. Transfer fennel mixture to processor and puree until almost smooth.
3.      Cook potatoes in large pot of boiling salted water until very tender, about 25 minutes. Drain well.
4.      Return potatoes to the pot; add the butter and mash with potato masher until smooth.  Mix in fennel puree, creme fraiche and rosemary. Season to taste with salt and pepper.

adapted from recipe by Lora Zarubin

whole fennel
fennel bulb quartered (core hasn't been cut out yet)
chopped fennel & onion before roasting
roasted
fennel & onion puree
potatoes draining
chopped rosemary
mashed

I think I should have added some of the fennel fronds, at least as a garnish on top (that would have been nice). Oh well.

Tuesday, February 22, 2011

Steamed Artichokes

served with garlic butter for dipping
Here's a recipe that is simple to make, but kind of a project to eat (pulling off the leaves, dipping them and scraping off the paltry amount of flesh with your teeth). Some may think it's too small of a reward for the effort, but I think it's a fun activity to share with friends on a night when you want to take your time and dine (as opposed to the usual shoveling in of dinner as quickly as possible so you don't miss Wheel of Fortune).

STEAMED ARTICHOKES
Yield: 2

2 whole artichokes, washed
2 tablespoons butter, melted
1/2 lemon
salt and freshly ground black pepper to taste


1.      Trim off and discard the stems and tough outer leaves of the artichokes (make sure you don’t cut off too much of the artichoke heart when cutting off the stem). Separate the leaves to open a little (so they will steam more evenly and it will be easier to check the center for doneness).
2.      Fill the pan with enough water to just reach the bottom of the steamer insert. Bring to a boil. Place steamer insert in pot and put artichokes in the steamer, stem-side down.  
3.      Drizzle the butter in between the artichoke leaves. Then squeeze the lemon over the leaves, trying to get the juice in between. Cover and steam until tender, about 45 minutes (leaves should pull off easily and a fork should slide very easily into the center).

How to eat:
Remove a leaf from the artichoke. Dip in melted garlic butter (or other butter/sauce) and scrape the fleshy part off with your teeth (do not eat the whole leaf). Try not to argue over who gets to eat the heart in the middle!

raw artichokes, leaves pulled apart a little to open them up
steaming
steamed

I sprinkled minced garlic on my artichokes before I steamed them and the garlic turned a greenish-blueish color (which is why I think dipping the leaves in garlic butter might be a better way to go).  I don't think it will hurt you to eat greenish-blueish garlic, but it is a little disturbing. You might be able to see what I mean if you click on the photo above.


Monday, February 21, 2011

Chewy Toffee Cookies

I realize this might be unpopular, but sometimes I just get tired of the chocolate in my chocolate chip cookie (gasp).  I find myself really enjoying the rest of the cookie and wishing I could pick out the chips. Not always (I do like chocolate, really).  So one day when I saw a package of toffee bits at the store, I knew what just what to do with them.

As long as you don't overcook these or make them too small, they'll come out nice and chewy. This photo makes me imagine a whole cabin built out of cookies (near a waterfall of cold milk).

As I wrote this, I couldn't shake the feeling that I might be perceived as some kind of a psycho if I said I don't like chocolate (which I do, I swear)!  My heart goes out to those of you out there who really don't like chocolate and have to deal with the shame and funny looks. It can't be an easy life.
CHEWY TOFFEE COOKIES
Yield: 18 (3 ½ inch) cookies

2 cups + 2 tablespoons all-purpose flour
1/2 teaspoon salt
1/2 teaspoon baking soda
12 tablespoons (1 ½ sticks) unsalted butter, melted and cooled slightly
1/2 cup sugar
1 cup brown sugar (light or dark)
1 large egg
1 large egg yolk
2 teaspoons vanilla extract
1 heaping cup toffee bits (like Heath brand), or more to taste


1.      Preheat oven to 325º F. Adjust oven racks to upper- and lower-middle positions. Line 2 baking sheets with parchment paper.
2.      Mix flour, salt, and baking soda together in medium bowl; set aside.
3.      Mix butter and sugars until thoroughly blended (by hand or with electric mixer). Mix in egg, yolk, and vanilla. Add dry ingredients; mix until just combined. Stir in toffee bits.
4.      Form scant 1/4 cup dough into a rough ball, being careful not to smooth the dough’s uneven surface much. Place formed dough on cookie sheets, about 1 ½ inches apart.
5.      Bake, reversing cookie sheets’ positions halfway through baking, until cookies are light golden brown and the edges start to harden yet centers are still soft and puffy, 15 to 18 minutes. To ensure a chewy texture, cool cookies on baking sheets. Store in airtight container.

Note:  Dough can be refrigerated for up to 2 days or frozen up to 1 month (shaped or not). Frozen dough requires an extra 1-2 minutes baking time.

adapted from Cook’s Illustrated, January 1996

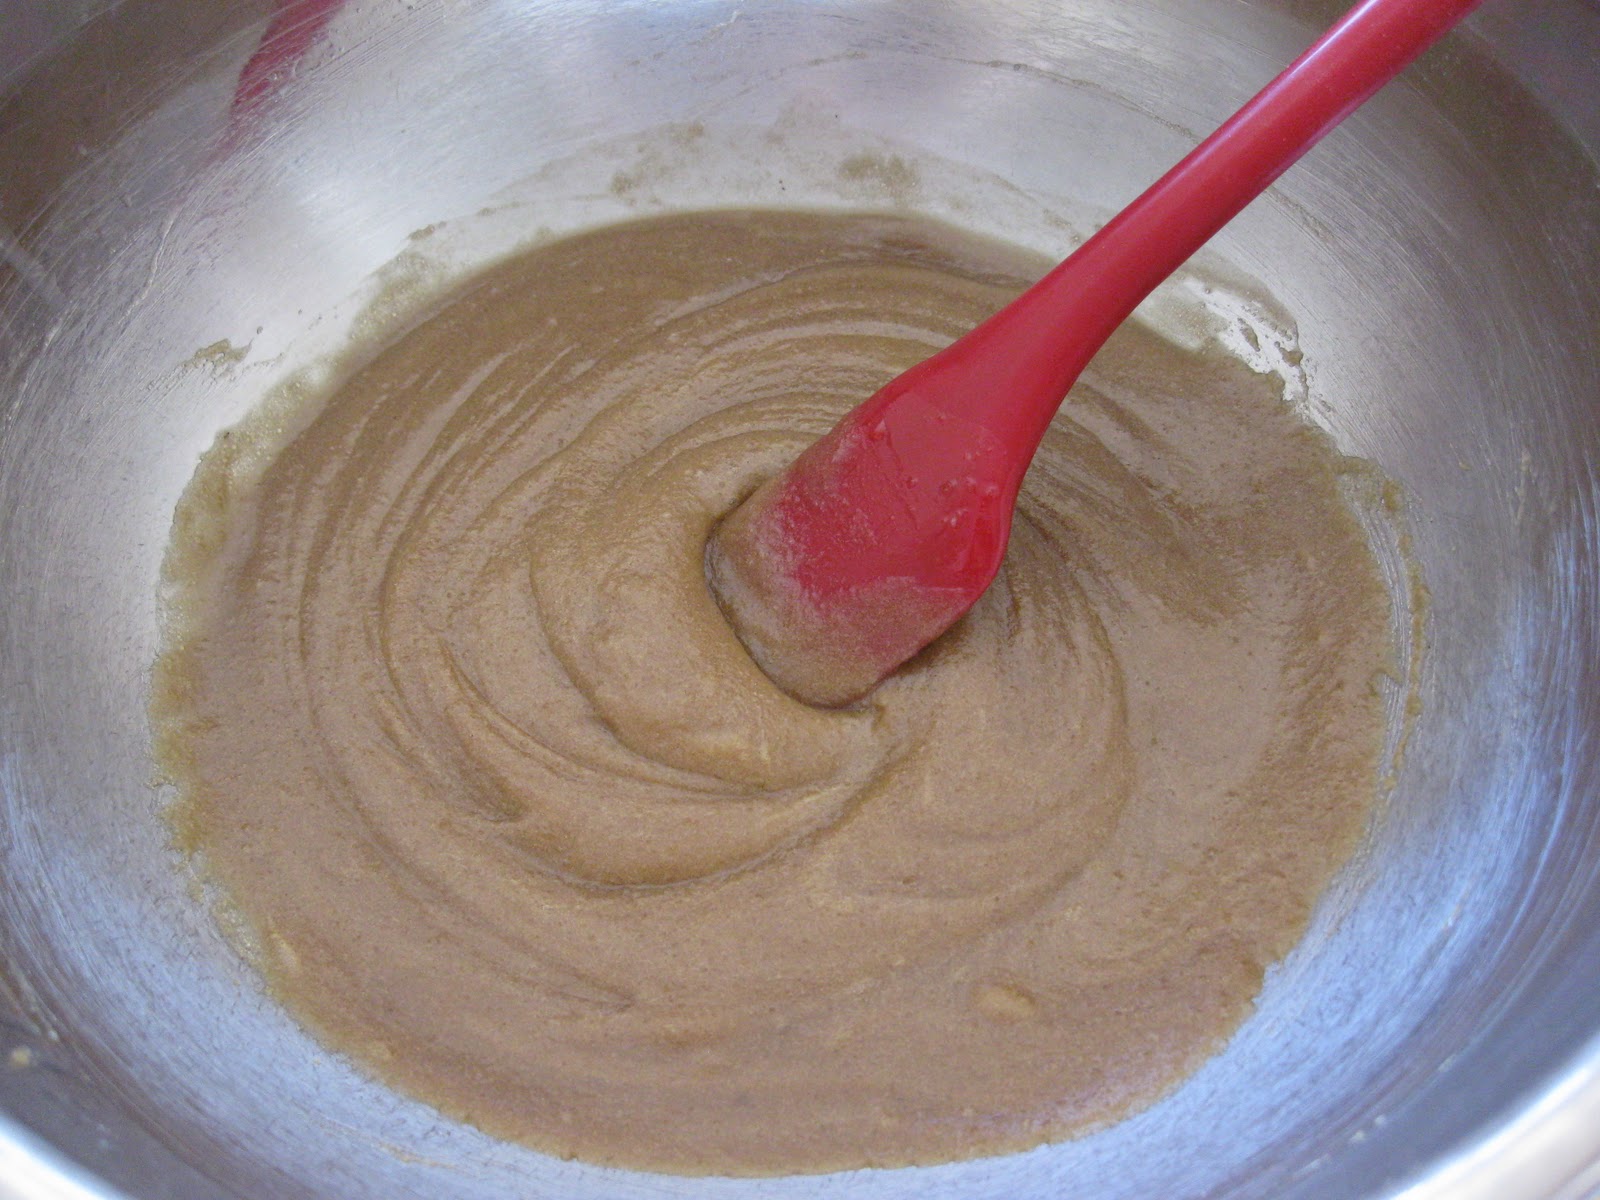
butter and sugars mixed
toffee bits
I was originally going to add just 1 cup,
but then I thought if 1 cup would be good...
dough all mixed
dough ball (resist the urge to smooth it)
baked

My friend Elizabeth makes a vanilla chip cookie that's also a nice change of pace from the traditional chocolate chip.