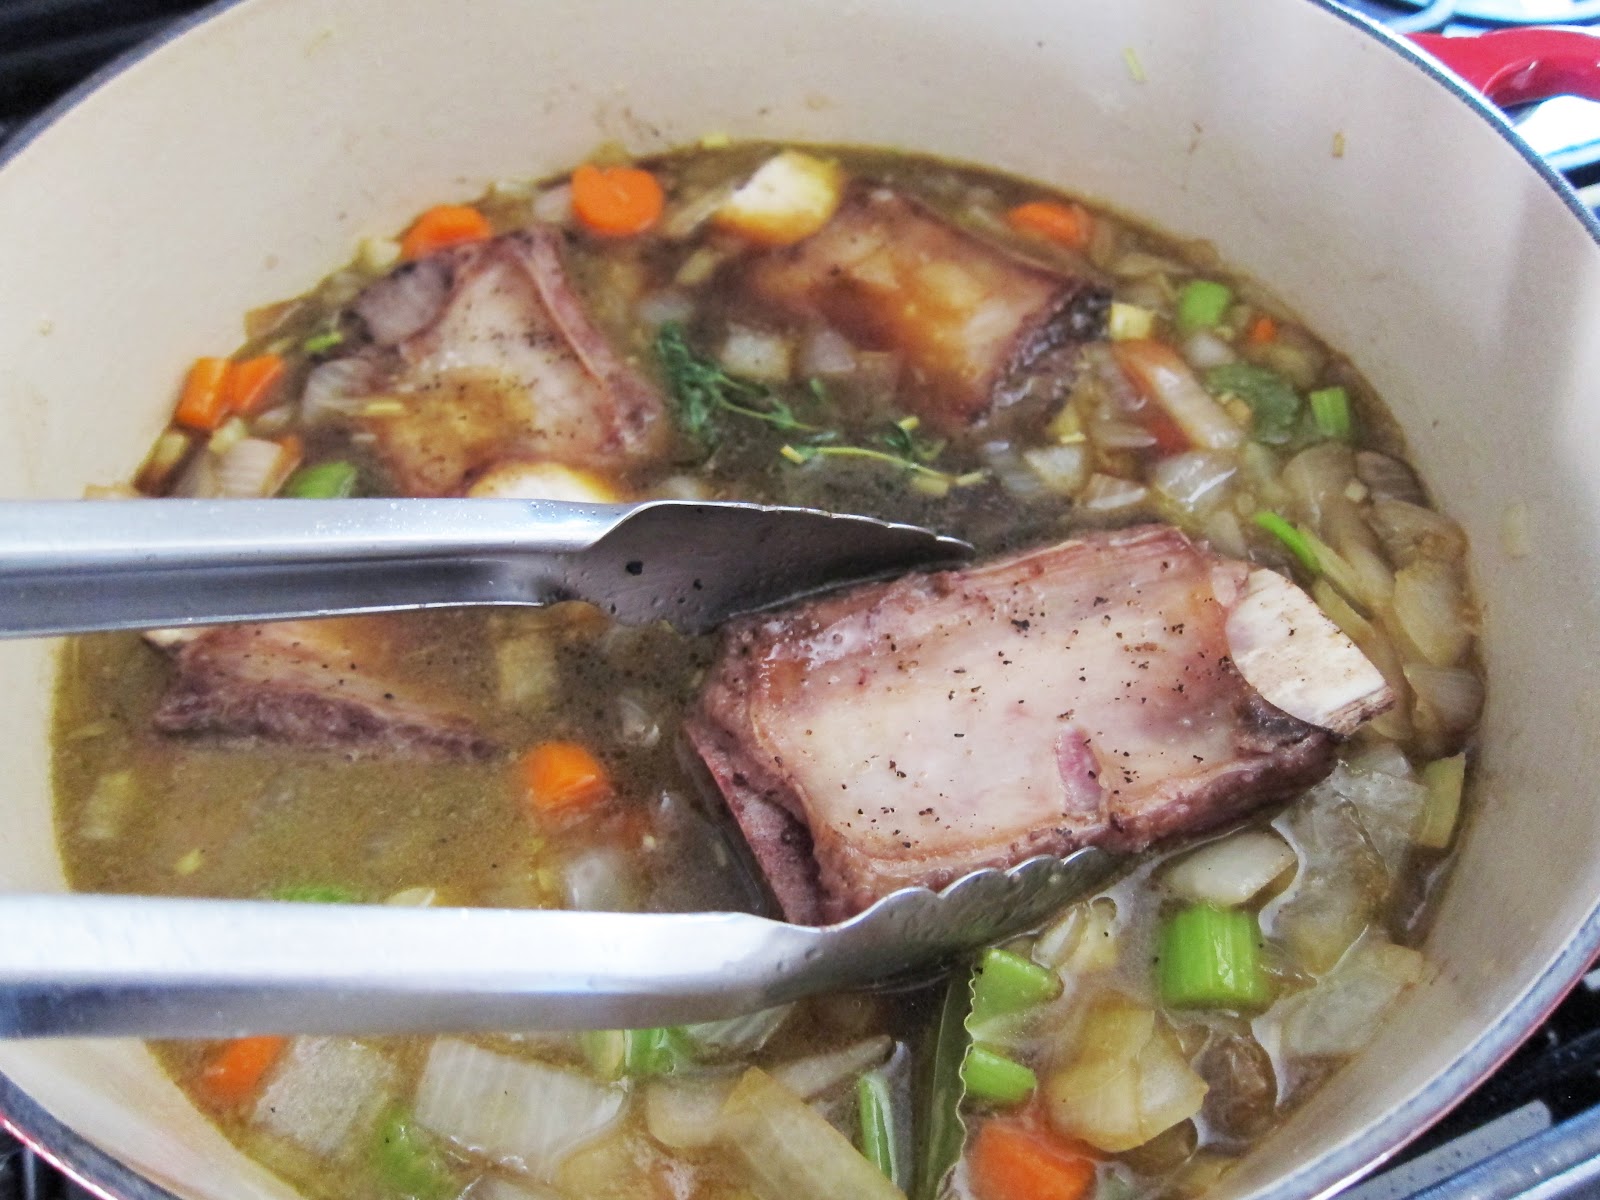
This year my wedding anniversary fell on a Tuesday, which means not much actual celebrating. Yes, we could have tried to get a sitter and gone out on the town. But when you're used to going to sleep around 8:30pm (sad, but true) and getting up at 4am (even sadder still), the idea of staying out late on a Tuesday sounds like more trouble than it's worth. Not very romantic of us, I know. So I felt at the very least that I should make something slightly more special than the usual weeknight meal to mark the occasion. That was an okay plan until it went awry, thanks to a messy and painful blender accident (scroll down to see some of the fallout). Luckily the ribs came out great (I'd hate to think all that crying* was for naught).
*I didn't do all the crying - my daughter joined in too (it was a regular symphony).
ASIAN BRAISED SHORT RIBS WITH CRANBERRY-TERIYAKI GLAZE
Makes 10 servings
7 lb. beef short ribs, cut into 3- to 4-inch pieces (have your butcher do this)
2 teaspoons kosher salt
1 ¼ teaspoons freshly ground black pepper
1 tablespoon canola oil
2-3 large onions, roughly chopped (about 2 ½ cups)
3 carrots, roughly chopped (about 1 ¼ cups)
2 to 3 stalks celery, roughly chopped (about 1 ½ cups)
1 medium fennel bulb (1 1/2 to 2 pounds), stalk discarded and bulb roughly chopped
2 lemongrass stalks, root ends trimmed, tough outer leaves discarded, and finely chopped
1 ½ tablespoons minced garlic, minced (about 3 to 4 cloves)
1 ½ teaspoons minced ginger (from 1/4-inch knob)
2 cups Chinese Shaoxing rice wine or sake
1 cup dark soy sauce
3 whole sprigs fresh thyme
1 large (or small) dried bay leaves
½ cup cranberry-teriyaki glaze (recipe follows)
1. Sprinkle short ribs with 1 ½ teaspoons salt and 1 teaspoon pepper.
2. In large heavy (oven proof) stockpot over high heat, heat oil until hot but not smoking. Working in batches, sear ribs, turning occasionally, until brown on all sides, about 10 to 12 minutes. Transfer as browned to plate, reserving rendered fat in pan.
3. Add onions, carrots, celery, fennel, lemongrass, garlic, and ginger and sauté, stirring frequently, until soft, about 10 minutes.
4. Add rice wine, soy sauce, thyme, bay leaf, remaining ½ teaspoon salt and remaining ¼ teaspoon pepper. Return short ribs to pot and add water to cover. Bring to boil, then reduce heat to low, cover, and simmer 3 ½ hours.
5. Preheat oven to 375º F. Line a baking sheet with foil. Carefully transfer the ribs to the sheet pan. Brush the ribs with glaze. Bake for 5 minutes, flip ribs, brush with glaze and bake for 5 more minutes.
6. Transfer ribs to serving dish; serve with more glaze.
barely adapted from Epicurious, December 2006 by Ming Tsai, Blue Ginger
CRANBERRY-TERIYAKI GLAZE
Makes about 2 cups
1/2 large red onion, sliced
1 1/2 teaspoons minced ginger
1/2 cup dried cranberries, such as Craisins
zest and juice of 1/2 orange
1/2 cup naturally brewed soy sauce
1 cup cranberry juice
1/4 cup sugar
3 tablespoons grapeseed or canola oil for cooking
kosher salt and freshly ground black pepper, to taste
1. In a saucepan coated lightly with oil over high heat, sauté the onions, ginger and dried cranberries until soft, about 5 minutes.
2. Add the orange zest and juice, soy sauce, cranberry juice, and sugar and bring to a simmer. Reduce by half over low heat, about 10 to 15 minutes.
3. Immediately, transfer to a blender and blend until almost smooth, drizzling in oil (do not blend until super smooth, with small bits is preferable). Taste and adjust seasonings.
4. Let come to room temperature, then transfer to a glass jar, seal and store in fridge for up to two weeks.
from Ming's Master Recipes by Ming Tsai
 |
| raw beef short ribs |
 |
| searing the ribs |
 |
| all the vegetables |
 |
| removing the tough layers from the lemongrass |
 |
| cooking all the vegetables |
 |
| adding the Shaoxing rice wine |
 |
| adding the soy sauce |
 |
| thyme and bay leaves added |
 |
| adding back the ribs |
 |
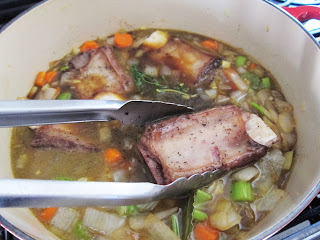
| ribs covered with water and braising |
While the ribs were braising, I made the cranberry-teriyaki glaze:
 |
| sliced red onion |
 |
| grated ginger |
 |
| orange zest |
 |
| dried cranberries |
 |
| cooking the onion, ginger and cranberries |
 |
| adding the orange zest and juice |
 |
| soy sauce, cranberry juice and sugar added |
 |
| reduced |
 |
| in the blender |
 |
out of the blender and splattered all over me and the kitchen
(this is why I usually use the immersion blender)
Good thing I doubled the glaze recipe.
Seriously, it was on the floor, cabinets (high and low), my shirt, pants and
in my hair. Plus I burned my arm & wrist. I thought the lid was on tight,
so I didn't hold it down. Let this serve as a cautionary tale for the rest
of you. Of course, I've done this before and that didn't stop me.
|
 |
This is my arm the next morning. I know it doesn't look
like much to the naked eye, but it hurt like a mother. |
 |
| blended (what's left of it) |
 |
| cranberry-teriyaki glaze |
 |
removing the ribs from the braising liquid
Actually, that's just a bone. You'll find that many of
the ribs will have fallen off the bone. That's a good thing. |
 |
| braised short ribs |
 |
| brushing the ribs with glaze |
 |
| asian braised short ribs with cranberry-teriyaki glaze |
I couldn't bring myself to throw out all the yummy deliciousness left in
the pot. So I removed bay leaves, thyme and bones that fell off the ribs. Then
I skimmed off the fat and blended it (using the immersion blender this time).
I figure I can turn this into a nice gravy or soup. I haven't done either yet. If I
don't have time to use it today, I'll freeze it and make soup with it another time.
 |
| skimming off the fat |
 |
| blended |
.