Side note: You may have noticed (or maybe you haven't), that I haven't been posting much lately. I'm just really busy at work and can't find the time to clean my house, much less cook and post on my blog. I'm not apologizing (mostly because I'm not delusional enough to think anyone cares, especially if I don't). I'm just explaining, in case you were wondering. Now back to the ultra creamy hot chocolate...
BOUCHON BAKERY'S HOT
CHOCOLATE
8 ½ ounces whole
milk
1 ounce 40% heavy
cream
½ teaspoon coriander
seeds
1 cinnamon stick
½ vanilla bean
1 tablespoon Cacao
Rouge-Guittard cocoa powder
1 ½ ounces 38%
Soleil d'Or Milk Chocolate-Guittard, chopped
1 ½ ounces 61% Lever
du Soleil Dark Chocolate-Guittard, chopped
_________________________________________________________________________
1. Bring
the milk and cream to a boil.
2. Smash
the coriander seeds and toast them with the cinnamon stick in a hot pan until
fragrant. Add these spices to the hot milk to steep.
3. Scrape vanilla bean and add to the milk mixture. Stir in cocoa powder and
combine well.
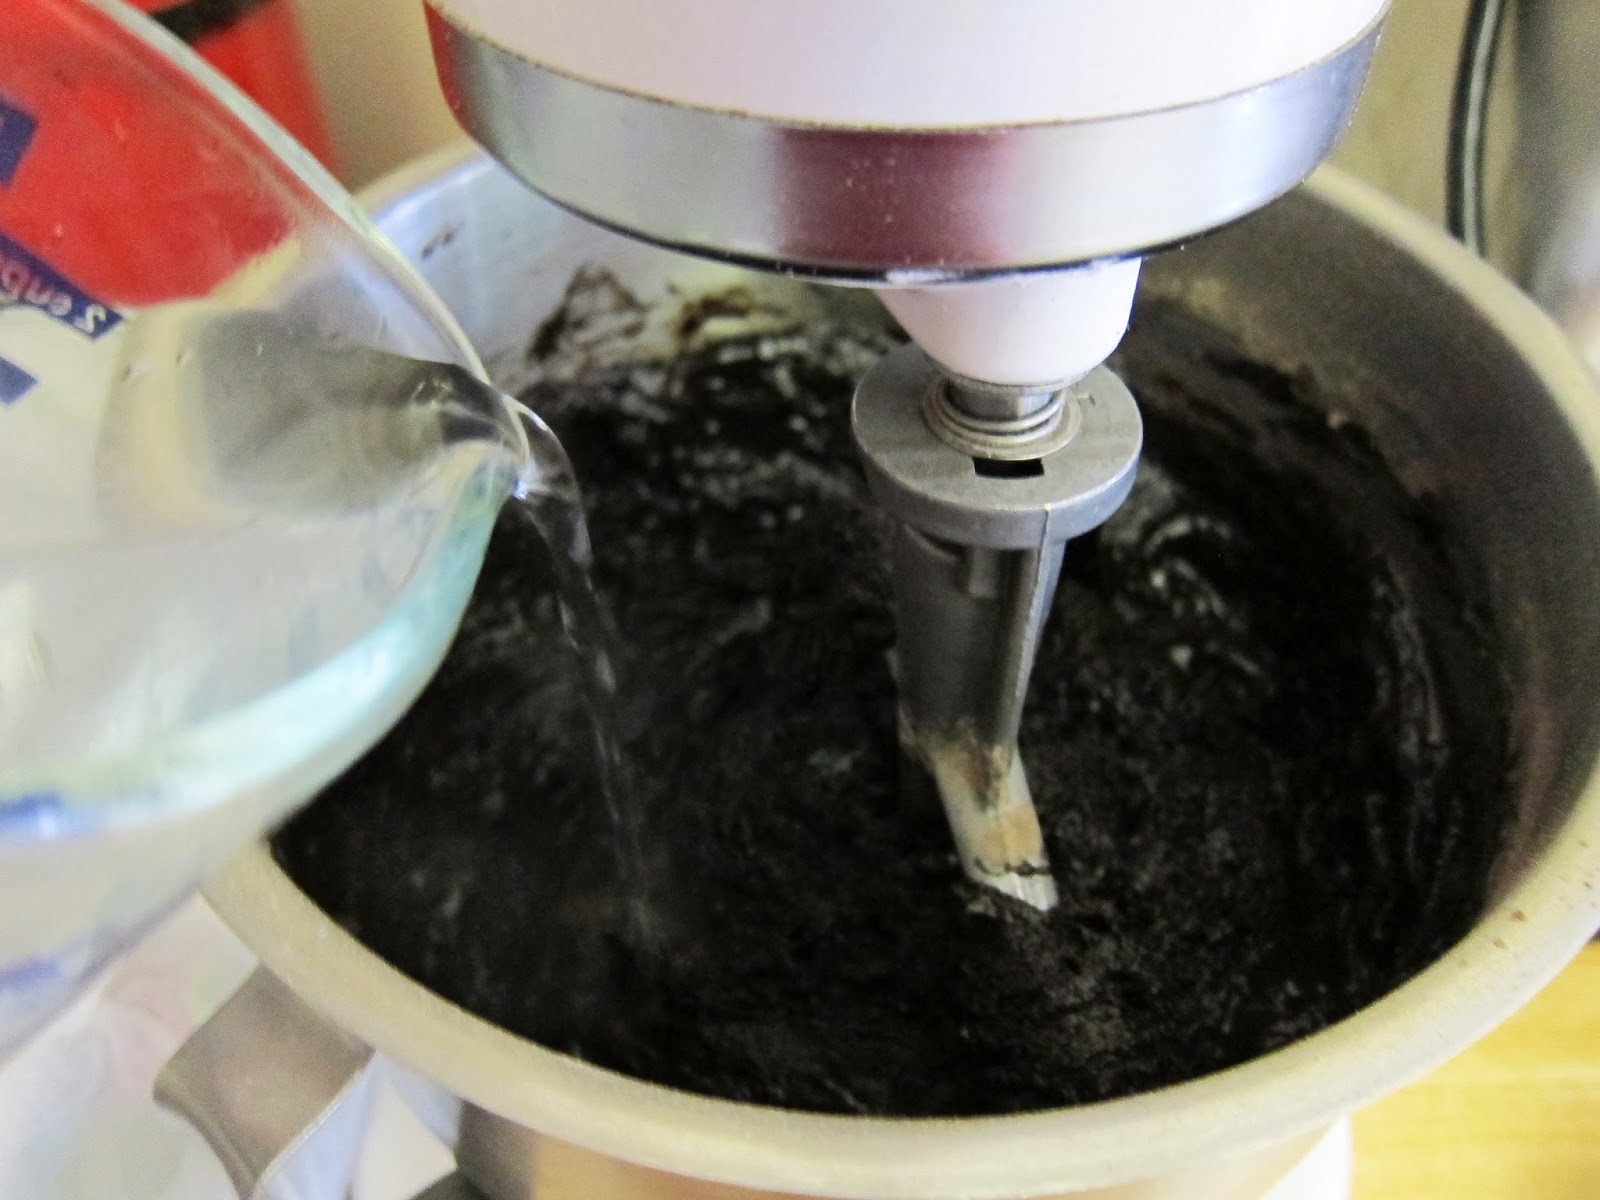
4. Strain
the milk mixture over the chopped milk and dark chocolate. Mix well until the
chocolate is melted. Strain one more time. It's now ready to serve!
from delish.com (originally from Thomas
Keller's Bouchon Bakery)
 |
| whole coriander seeds |
 |
| toasting the spices |
 |
| steeping the coriander & cinnamon in the hot milk mixture Don't be nervous, the spices are very subtle with all that chocolate! |
 |
| stirring in the cocoa powder I didn't have Cacao Rouge-Guittard cocoa powder, so I used the best brand in my cabinet (Scharffen Berger). I also didn't have a vanilla bean, so I used about 1/2 teaspoon homemade vanilla extract |
 |
| dark and milk chocolates I didn't have the brands that Thomas Keller uses, so I used Callebaut (which is a good quality chocolate). |
 |
| milk mixture strained into the bowl with the chocolates |
 |
| stirred and strained into my cup |
Since I probably won't be posting again until after the holidays...
Merry Christmas (and possibly Happy New Year too)!
Merry Christmas (and possibly Happy New Year too)!
.