Naturally for day two of Greek week, I wanted to make something to go with day one's tsatsiki. I've never cooked (or even eaten) lamb before, so I thought I'd give it a shot. I'll be honest, not my favorite. But keep in mind, I'm not a big meat eater in general, so I might not be the best one to ask. And even though I'm not a lamb convert, I recognized while I was eating these burgers, that they were good (the garlic, mint and feta are a fantastic combination).
When I asked my husband Chuck what his thoughts were on this recipe, he said (and I quote), "I love lamb. I love burgers. And I love these lamb burgers." I knew it was true because he polished off a lot of them for dinner (and what he didn't have for dinner, he enthusiastically finished for lunch the next day).
LAMB BURGERS WITH MINT, FETA & GARLIC
Makes 12 large burgers (or 25 minis for hors d’oeuvres)
1 1/2 lb. ground lamb shoulder
heaping 1/2 cup crumbled feta cheese
2 large garlic cloves, pressed or finely minced
1 tablespoon finely chopped fresh mint
1 1/2 teaspoons coarse kosher salt
1 tablespoon extra virgin olive oil
tsatsiki for serving (optional)
tsatsiki for serving (optional)
1. Place lamb in large bowl. Add feta, garlic, mint and salt. Gently mix to blend.
2. Divide lamb into 12 balls (or about 25 for minis). Flatten each ball into a 3/4-inch thick patty. Can be made 1 day ahead. Wrap well and refrigerate.
3. Heat olive oil in a heavy large skillet over medium-high heat. Cook lamb burgers (in batches if necessary) until browned on both sides and cooked to desired doneness, about 3 minutes per side for medium. Serve with tsatsiki.
adapted from Molly Wizenberg
 |
| fresh mint |
 |
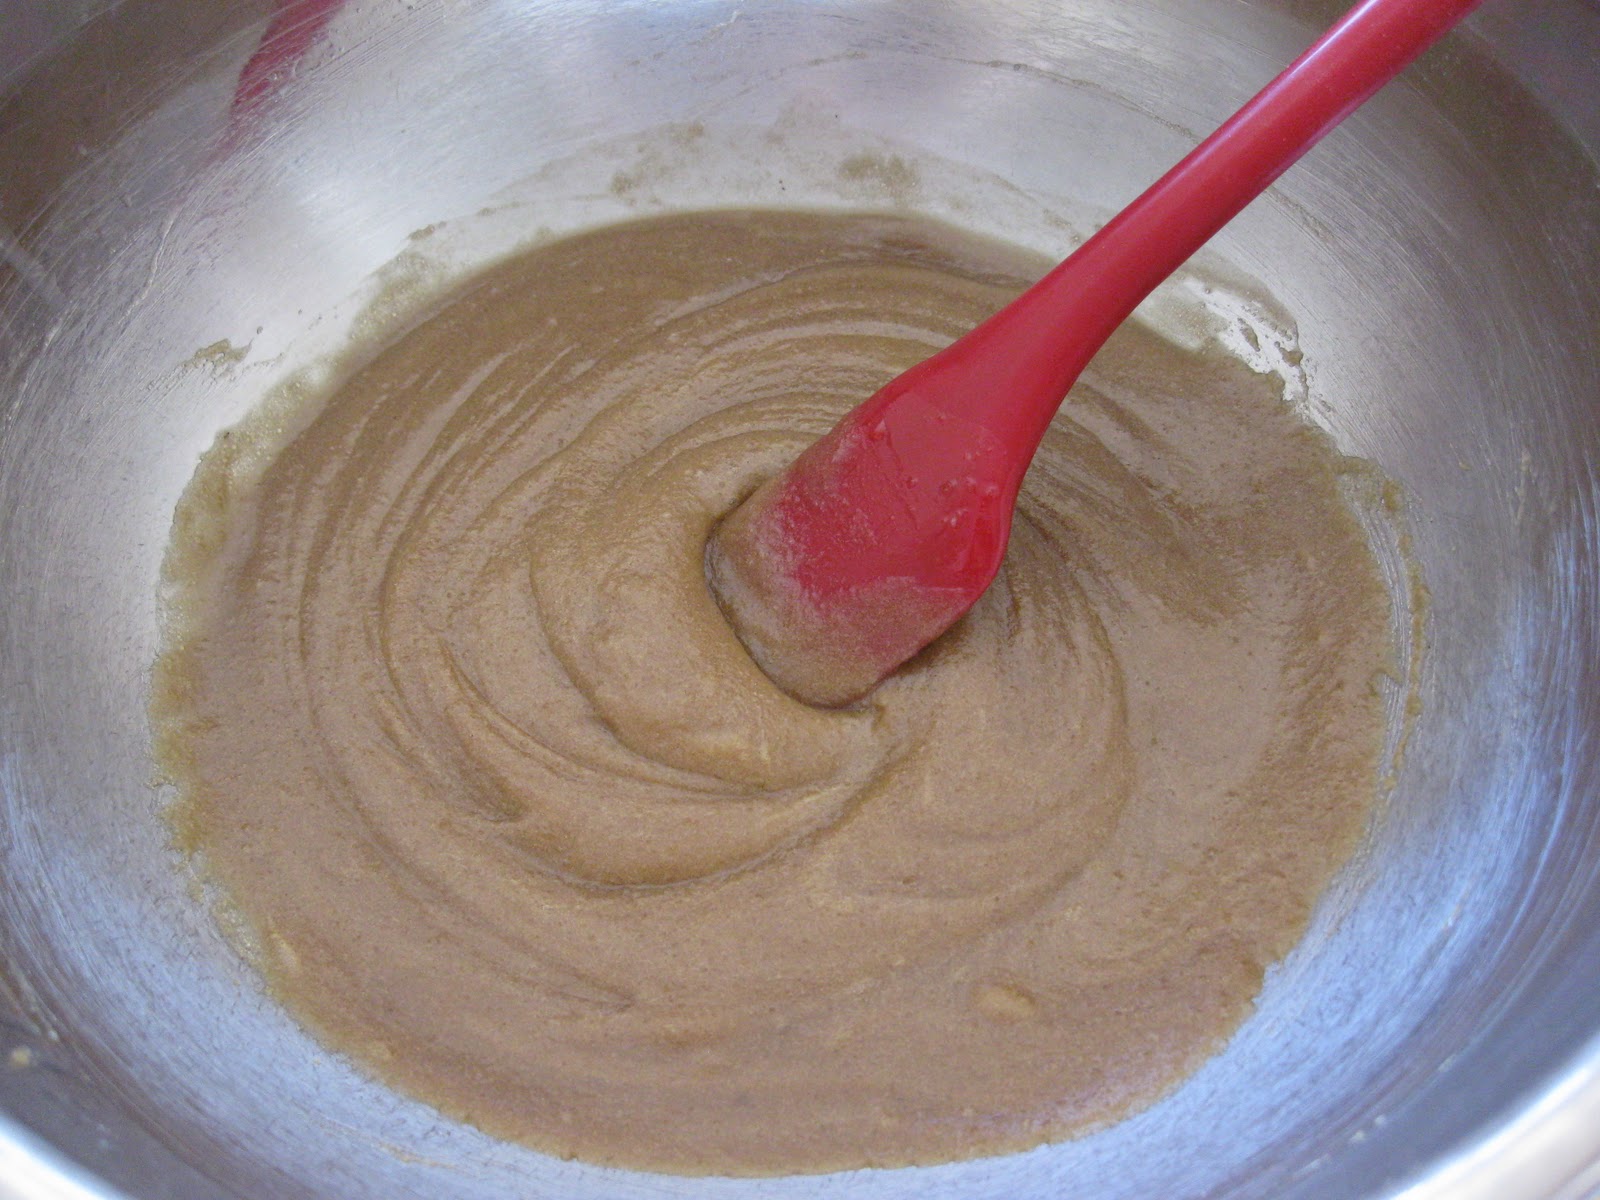
| mixing it up |
 |
| mini burger patties |
 |
| burgers cooking |
 |
| burgers ready |
 |
| going for a dip |