Showing posts with label vanilla. Show all posts

Saturday, June 11, 2011

Frozen Mosaic (Mango, Blackberry and Vanilla)

I'm not sure I need to say much about this frozen little work of art. It's so easy and pretty. You can make it days ahead of time (in about 30 minutes) and your guests will ooh and ahh (if they don't, consider getting yourself some new guests...I mean, really, it's the polite thing to do). 

These flavors are a great combination very colorful and light & refreshing on a hot day. Of course you can make this with any flavors you want (as long as you make a sauce thin enough to fill in the cracks). I was thinking maybe a chocolate and vanilla version with raspberry sauce (not as colorful, but nice for chocolate lovers). And if you really want to be a superstar, make your own ice cream/sorbet (of course if you go that route, you can kiss quick and easy goodbye).


FROZEN MANGO, BLACKBERRY AND VANILLA MOSAIC
Makes 10 to 12 servings

2 pints mango sorbet (4 cups)
1 pint vanilla ice cream (2 cups)
6 oz. fresh blackberries (1 1/2 cups)
1/4 cup sugar
2 tablespoons crème de cassis (black currant liqueur)


1.     Put sorbet and ice cream in refrigerator until evenly softened, 45 minutes to 1 hour.
2.     Meanwhile, purée blackberries, sugar, and cassis in a blender until smooth, then strain through a fine-mesh sieve set over a bowl, pressing on and then discarding solids. Freeze to thicken slightly until ice cream is ready, 20 to 40 minutes, then stir until smooth.
3.      Lightly oil a 9” x 5” x 3” loaf pan (or other 7- to 8-cup capacity mold) with no-taste oil (like canola oil). Cut a piece of parchment to fit bottom and long sides of pan, leaving at least 3 inches of overhang on each side.
4.     Fill pan decoratively with spoonfuls of sorbet and ice cream, pressing down and filling empty spaces with blackberry purée as you go. Smooth top, pressing down with back of spoon to eliminate air spaces, then fold parchment flaps over top and freeze until solid, at least 3 hours.
5.     To unmold, run a thin knife along short sides of pan to loosen mosaic, then open parchment and invert onto a flat serving dish, discarding parchment.
6.     Cut mosaic into 1/2-inch-thick slices. Can be made 5 days ahead and frozen, covered with plastic wrap.

from Gourmet, July 2007
blackberries with sugar and crème de cassis
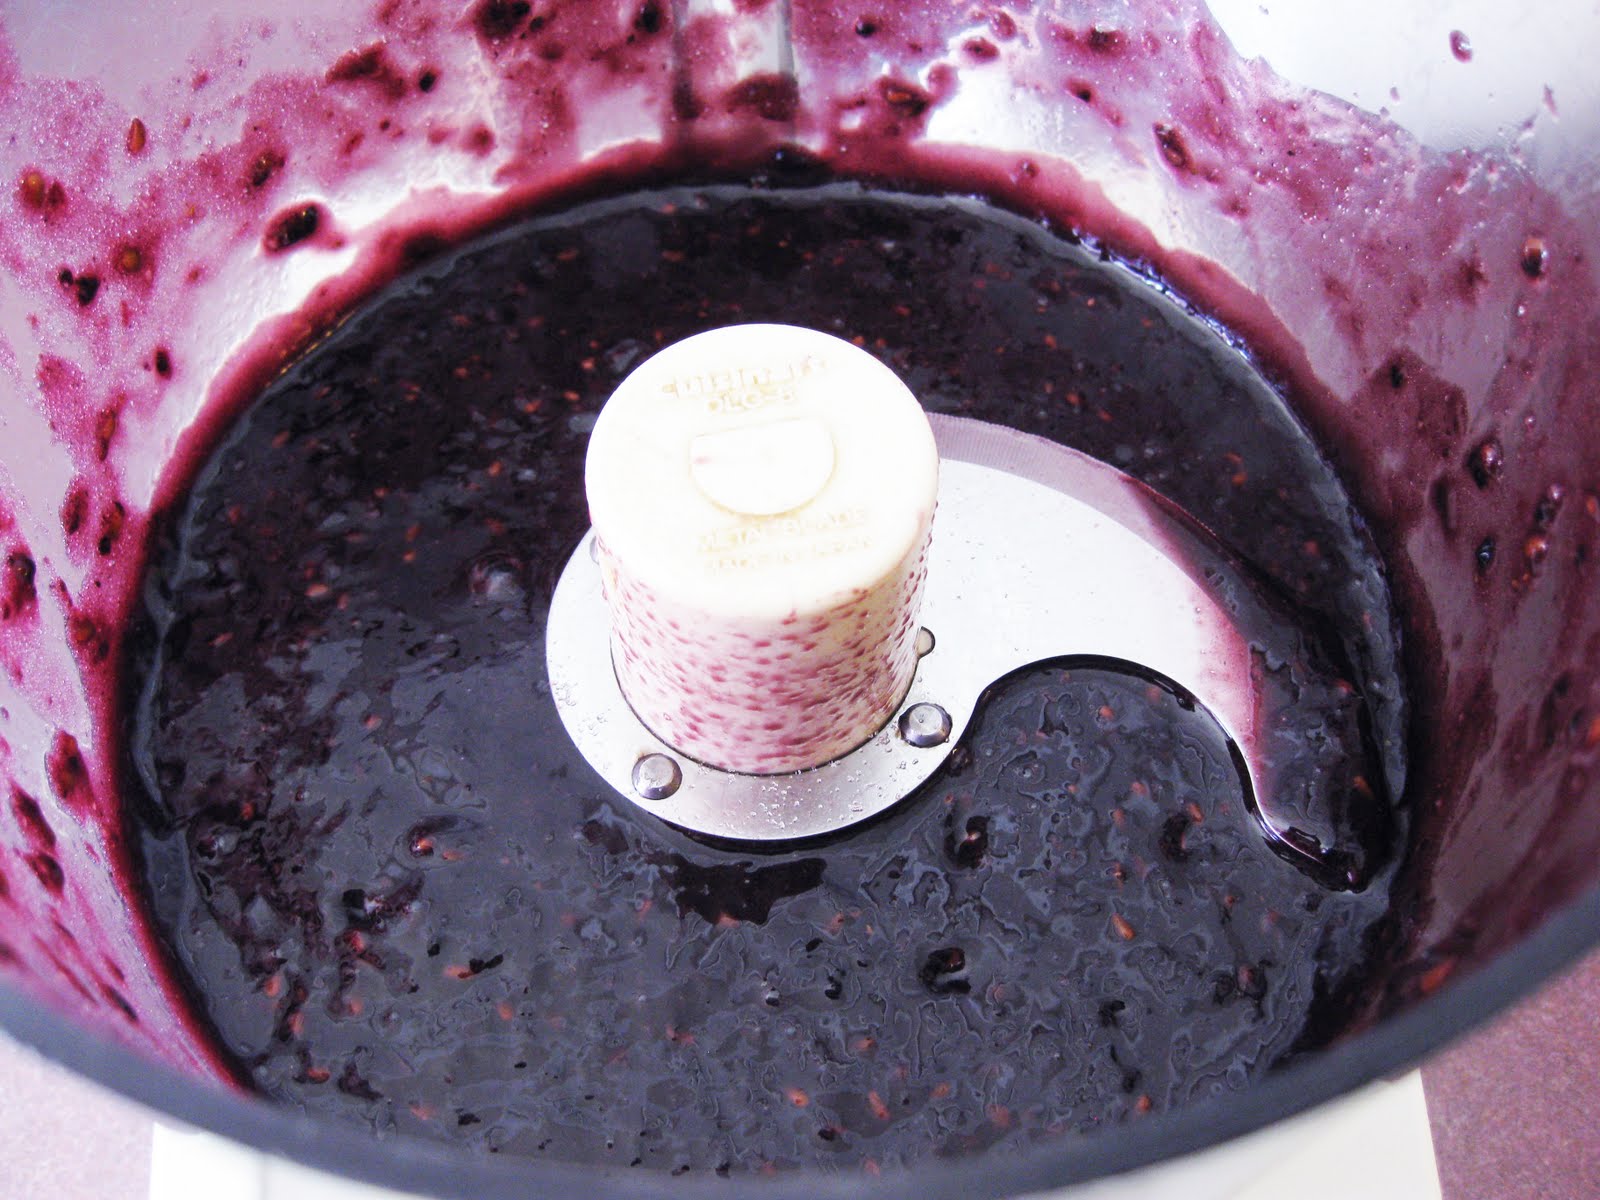
blackberry sauce
straining the blackberry sauce
layering the ice cream and sorbet

Remember to push down as you layer to avoid holes
(mine had a few, but nothing too terrible).
blackberry sauce drizzled on
ready to wrap up
In order to unmold it, I did run a little warm water over the
sides of the pan. As you can see, it's a little melty because of that.
I just stuck it back in the freezer for 20 minutes--no problem.
unmolded, the short end
cross section
As you can see, every slice is different. Fun.
I wrapped the leftover in plastic wrap (in individual slices) and put them
back in the freezer. It was easy for my family to quickly grab a piece.
If you don't want those lines on yours, don't use a serrated knife like I did.
.

Sunday, April 3, 2011

Vanilla Bean Crème Brûlée

This is your classic crème brûlée recipe with no embellishments (not that it needs any). Although I did intend to serve it garnished with raspberries and totally forgot (typical of me). This is so rich and creamy, just a little goes a long way. It's perfect for serving to company because it needs to be made ahead. Plus you can torch it right at the table for the ooh/ahh factor.


VANILLA BEAN CRÈME BRÛLÉE
Serves 6

2 cups whipping cream
1/2 cup sugar, plus 1/4 cup for sprinkling on top
1 vanilla bean, split lengthwise
5 large egg yolks


Make custard:
1.      Preheat oven to 325° F. Place 6 (4-inch) ramekins or fluted dishes in 1 large baking pan with sides (or divide among 2 smaller pans).
2.      Mix cream and 1/2 cup sugar in heavy medium saucepan. Using small sharp knife, scrape seeds from vanilla bean. Add seeds and bean to saucepan. Stir over medium heat until sugar dissolves and mixture comes to simmer. Cover pan, reduce heat to very low and simmer gently 10 minutes to infuse flavors. Strain into large measuring cup.
3.      Whisk yolks in medium bowl until well blended. Gradually whisk in hot cream mixture just to blend. Return custard to measuring cup; divide among ramekins. Place the pan(s) in the oven and pour in enough hot water to come halfway up sides of the ramekins.
4.      Bake custards until almost set in center when pans are gently shaken, about 30 minutes. Using metal spatula, transfer custards in dishes to work surface; cool for 30 minutes. Chill for at least 3 hours and up to 2 days.

Make crème brûlée:
1.      Sprinkle 2 teaspoons sugar evenly over each custard. Working with 1 custard at a time, hold torch* so that flame is 2 inches above surface. Direct flame so that sugar melts and browns, about 2 minutes. *If you don’t have a blowtorch, you can broil the custards until the sugar turns dark brown.
2.      Let stand for 1-2 minutes, so the sugar can harden. Serve immediately (or refrigerate again, for no more than 4 hours, so the topping stays brittle).

adapted from Bon Appétit, February 1999
cream, sugar and vanilla bean (with seeds scraped out)
yolks
adding hot cream mixture to yolks (pour
slowly and keep whisking so the eggs don't cook)
straining the custard
pouring the custard into the ramekins
ramekins in their hot water bath
out of the oven and cooling
sprinkled with sugar
torch
torching
torched
those little black dots are vanilla seeds (yum)

You may have noticed that I only made five (and not six like the recipe says). That's because I only have five ramekins (of varying sizes and colors). But that's okay, I just cooked them slightly longer. Maybe one day I'll buy some of those low, wide, fluted ramekins...they're pretty. Luckily for me, I don't have company over who minds mismatched ramekins (actually, that's by design more than luck).
.

Tuesday, December 21, 2010

Homemade Vanilla Extract

Here's a nice gift for the bakers in your life, but not for this Christmas, it takes at least six months for the vanilla flavor to fully develop.  The longer you save it the better it gets, so this would be a good time to start planning for Christmas 2011 (you procrastinators can go pay some late fees or better yet, just go watch tv instead and do that later).

picture it with a beautiful bow

HOMEMADE VANILLA EXTRACT

4 cups (1 liter or 1 quart) vodka (45% alc/vol)
10-12 vanilla beans, split lengthwise*

*If the bottle is shorter than the vanilla beans, cut or bend them to fit.


Pour the vodka into your bottle of choice (or keep it where it is, there are some very nice vodka bottles out there).  Place the vanilla beans in the bottle of vodka (make sure they are fully submerged) and seal. Store in a cool, dark place (such as a kitchen cabinet) for six months, shaking the bottle every week or so.
Notes:
--      After using the extract, you can replace with more vodka. The same beans will continue to flavor the vanilla for up to a year.
--      You can use a paper coffee filter to strain out the vanilla seeds before using the extract (although I recommend keeping the seeds if you don’t mind the specks, they have great flavor).