Monday, November 11, 2013

Mushroom and Celery Stuffing

I know that technically when you don't cook your stuffing inside your turkey, it's called dressing. But I can't quite bring myself to do that because in my mind, dressing will always be something I drizzle on my salad. So I'm sticking with stuffing. I think we all know what I'm talking about. I've tried a lot of stuffing recipes over the years and maybe I should be ashamed to admit this, but I've never found a homemade one I liked as much as plain old Pepperidge Farm in the bag. I guess it's because that's what I grew up eating (and no, they're not paying me to say this). But I always wanted to find a homemade version I like just as much and this is the one. It's very unassuming - no chunks of sausage, apple or chestnuts (although I do love chestnuts). Just the basics. Sometimes that's all you need.


 MUSHROOM AND CELERY STUFFING
Serves 12

1 large loaf challah bread or decent quality white bread (such as Arnold brand)
2 cups diced celery
2 cups diced onion
2 cups diced cremini mushrooms
8-10 sprigs thyme, chopped
3 sprigs rosemary, chopped
1/4 cup chopped flat leaf parsley
3 cups chicken stock (or vegetable stock for vegetarian), preferably homemade
6 tablespoons butter + 1 stick butter, melted
1 teaspoon salt
1 teaspoon black pepper, freshly ground


1.      Heat oven to 275° F. Cut the bread into cubes, about ¾-inch each. Place cubes on a parchment lined sheet pan toast in the oven for about 45 minutes, stirring every 10-15 minutes. Set aside until completely cooled.
2.      Melt 6 tablespoons of the butter in a large heavy saute pan. Saute the onions until wilted, add the herbs, celery and mushrooms and cook until just slightly cooked through.
3.      In a large bowl, combine bread cubes, vegetables, melted butter and vegetable stock, and salt and pepper. Test for seasoning and adjust.
4.      Press stuffing into a large buttered baking dish. Cover with buttered parchment, and then foil. At this point, the stuffing can be held for several hours, but should be at room temperature before baking.
5.      Bake at 350º F. for 35-40 minutes. Remove the parchment/foil and bake for another 10-15 minutes, to crisp the surface.

adapted from food52.com (submitted by MrsWheelbarrow)
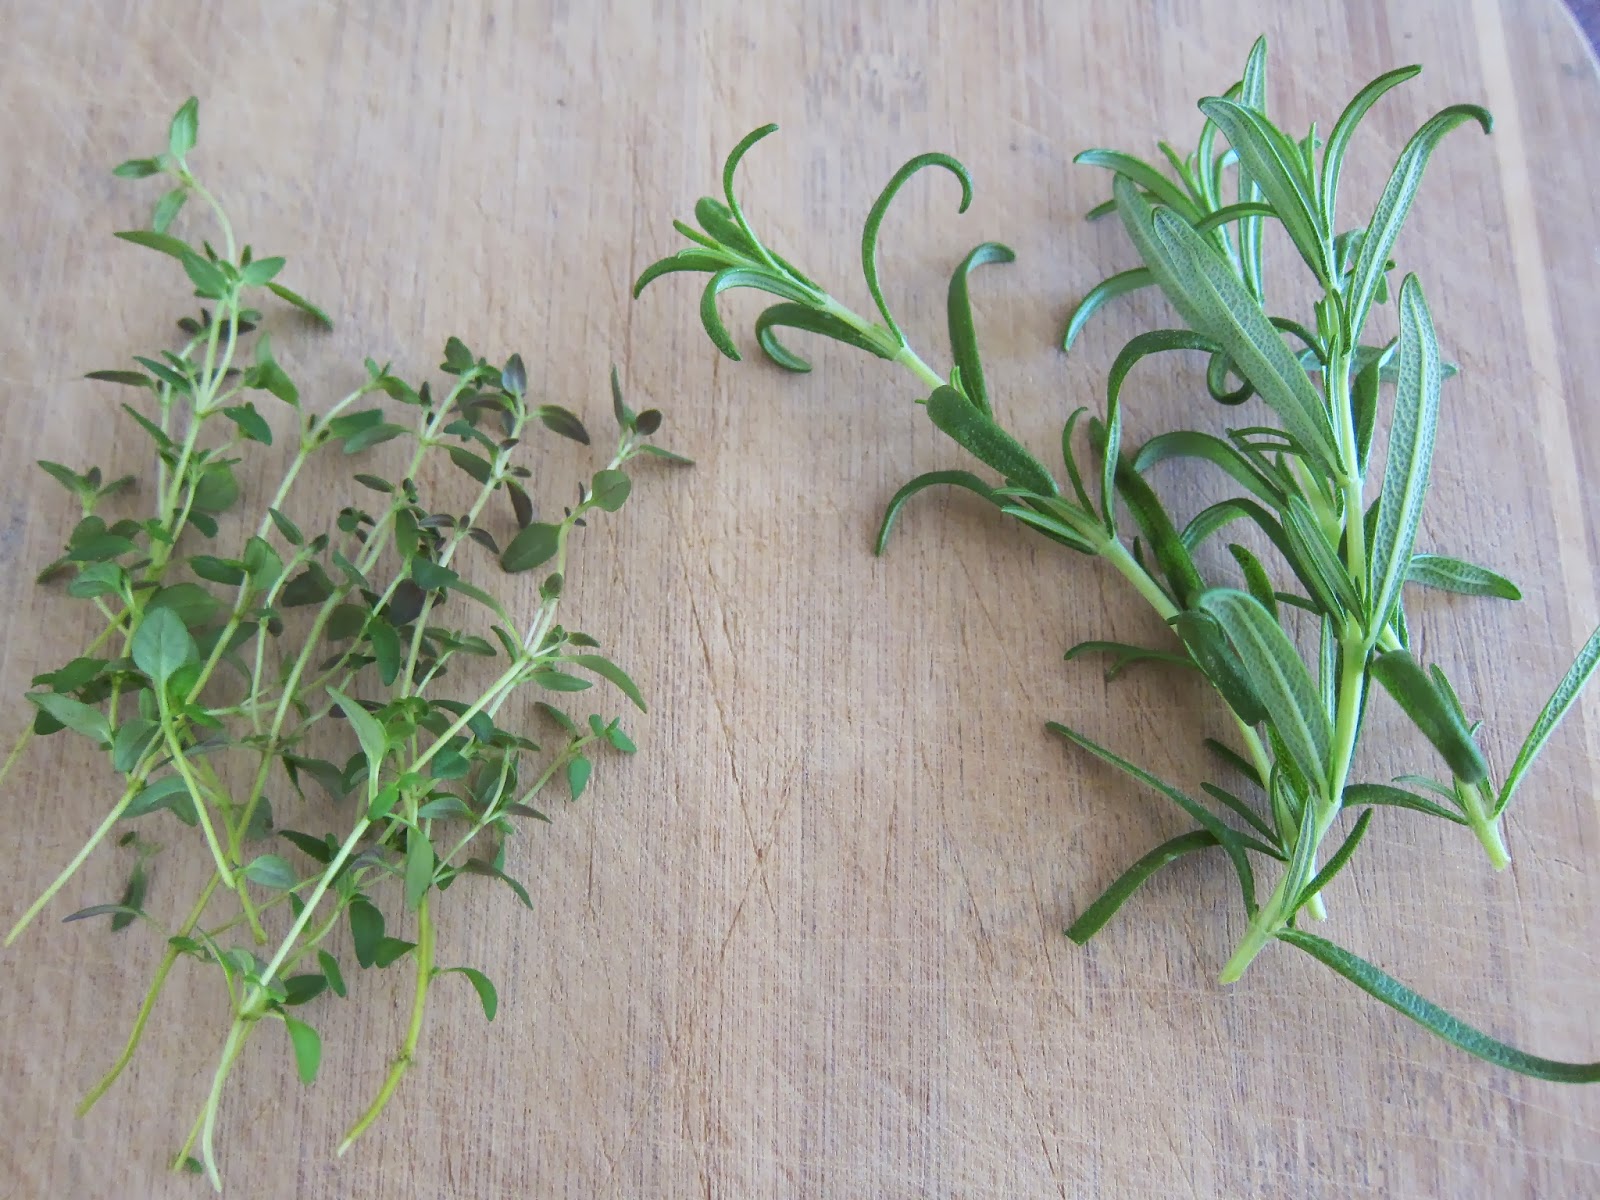
thyme and rosemary
vegetables and herbs in the pot
mixed
adding butter, stock, salt and pepper
adding toasted bread cubes
mixed
in the pan
baked
mushroom and celery stuffing

I love that the inside is moist, while the top is a little crunchy.
.

Thursday, October 31, 2013

Brownie Spiders

Happy Halloween! I saw these cuties online and knew they'd be perfect for my daughter's school party today. I hoped to finish them yesterday and post them before Halloween, but clearly that was not meant to be. But the important thing is that I finished them before the party, with time to dry (I wouldn't want the eyeballs to fall off). Although if that happens this afternoon, I'll just claim it was on purpose (me trying to make the spiders scarier). It's all about spin. 

BROWNIE SPIDERS
Yield: approx. 20 spiders

1 (9” x 13”) pan baked brownies
1/2 cup semisweet or bittersweet chocolate chips
2 cups chow mein noodles
candy eye balls (at least 40)
_____________________________________________________________________

1.      Use a 1 ½- to 1 ¾-inch circle cookie cutter to cut out circles for the spider "bodies".
Place on wax paper for prep, or place them right on your serving tray.
2.      In a double-boiler, melt the chocolate chips in a medium-sized bowl. Remove 2 tablespoons of the melted chocolate and set aside.
3.      Place a sheet of waxed paper on a sheet pan or large plate. Gently stir the chow mein noodles into the remaining melted chocolate until all of the noodles are coated. Spread the noodles out on the wax paper, separating them as much as possible, and then pop them in the freezer for about 10 minutes to chill and re-harden the chocolate. Once chilled, remove the chocolate covered noodles, and pick out some long ones to use as the spider "legs".
4.      Using the melted chocolate that you set aside and a toothpick, transfer a dot of melted chocolate to the back of each candy eye as the "glue". Place the eyes on the front of the brownie circles.
5.      Dip the tip of each “leg” in melted chocolate and insert 4 legs into each side of each spider body.
6.      Set aside for chocolate “glue” to set (will keep for up to 4 days).

barely adapted from gimmesomeoven.com
adding chow mein noodles to melted chocolate
the original instructions said not to worry about
separating the "legs" completely, but mine really
stuck together, so I recommend separating.
cutting brownie circles
brownie spiders
The original "recipe" has the legs inserted on the top/sides. But I played around and thought they looked better on the sides. Obviously you should go with whatever you like best.
.

Monday, October 21, 2013

Hi Hat Chocolate Cupcakes

I made these cupcakes mainly to see if they would work. I was pretty sure when I dipped the frosting in the chocolate that I'd be left with big gloppy mess. But much to my surprise and delight, it all went according to Martha Stewart's plan. (How could I ever have doubted her?) I should note that even though they look inviting, I did make a mistake and leave the water out of the frosting, which caused the sugar not to dissolve completely and added a little unwanted crunch (which my daughter actually liked).

I was little embarrassed to send them to school for the Harvest Eve bake sale, but then I realized since my husband dropped them off and we keep a pretty low profile that they might not even realize they were from me. Also, anyone who bought one didn't find out my error until after they paid the school...and who's going to ask for their money back for a fundraiser cupcake? A wanker who deserves crunchy frosting, that's who (I've been watching a lot of BBC America).


HI HAT CHOCOLATE CUPCAKES
Yield: 12

Chocolate Cupcakes:
1 cup all-purpose flour
1 cup sugar
½ cup cocoa powder
1 teaspoon baking powder
½ teaspoon baking soda
½ teaspoon salt
½ teaspoon instant espresso powder
½ cup milk
¼ cup vegetable oil
1 egg
½ teaspoon vanilla extract
½ cup boiling water
Frosting:
1 3/4 cups sugar
1/4 cup water
3 large egg whites
1/4 teaspoon cream of tartar
1 teaspoon vanilla extract
1/4 teaspoon almond extract

Chocolate Coating:
2 cups chopped (12 oz.) semisweet chocolate
3 tablespoons coconut oil (or vegetable oil)


1.      Preheat oven to 325º F. Place 12 cupcake liners in a standard size 12-cup muffin tin.
2.      In a large bowl or kitchen aid bowl, combine flour, sugar, cocoa, baking powder, baking soda, salt and espresso powder. Whisk (or use paddle attachment) until well combined.
3.      Add milk, vegetable oil, eggs, and vanilla to flour mixture and mix together on medium speed until well combined. Reduce speed and carefully add boiling water. Beat on high speed for about 1 minute to add air to the batter.
4.      Fill each cupcake liner about 3/4 full with batter.
5.      Bake for about 20 minutes or until a toothpick inserted in the center comes out clean.
6.      Cool cupcakes completely before frosting.
7.      Prepare the frosting: In a large heatproof bowl, combine sugar, water, egg whites, and cream of tartar. Using a handheld electric mixer, beat on high speed until foamy, about 1 minute. Set bowl over a pan of barely simmering water. Beat on high speed until frosting forms stiff peaks, about 12 minutes; frosting should register 160º F on a candy thermometer. Remove from heat; stir in vanilla and almond extracts, and beat for 2 minutes more until frosting thickens.
8.      Transfer frosting to a large pastry bag fitted with a 1/2-inch plain pastry tip. Leaving a 1/8-inch border on each cupcake, pipe a spiral of frosting into a 2-inch-high cone shape, using about 1/2 cup of frosting per cupcake. Transfer cupcakes to a baking sheet, and refrigerate while preparing the chocolate coating.
9.      Prepare the chocolate coating: Combine chocolate and oil in a medium heat-proof bowl set over a medium saucepan of barely simmering water; stir until melted and smooth. Transfer to a small bowl, and let cool about 20 minutes.
10.  Holding each cupcake by its bottom, dip cupcake in the chocolate to coat frosting, allowing excess to drip off. Transfer to a baking sheet fitted with a wire rack. Spoon more coating around edge of cupcake and any exposed frosting; none of the frosting should show. Let cupcakes stand at room temperature 15 minutes.
11.  Carefully remove paper liners from cupcakes, and discard. Place cupcakes on a serving platter, and refrigerate for 30 minutes to let coating set. Cover, and refrigerate for 2 hours more. Serve cold. Cupcakes can be refrigerated for up to 3 days.

chocolate cupcakes from addapinch.com, 
concept, frosting and chocolate coating from Martha Stewart
dry ingredients mixed together
adding milk, oil, egg and vanilla
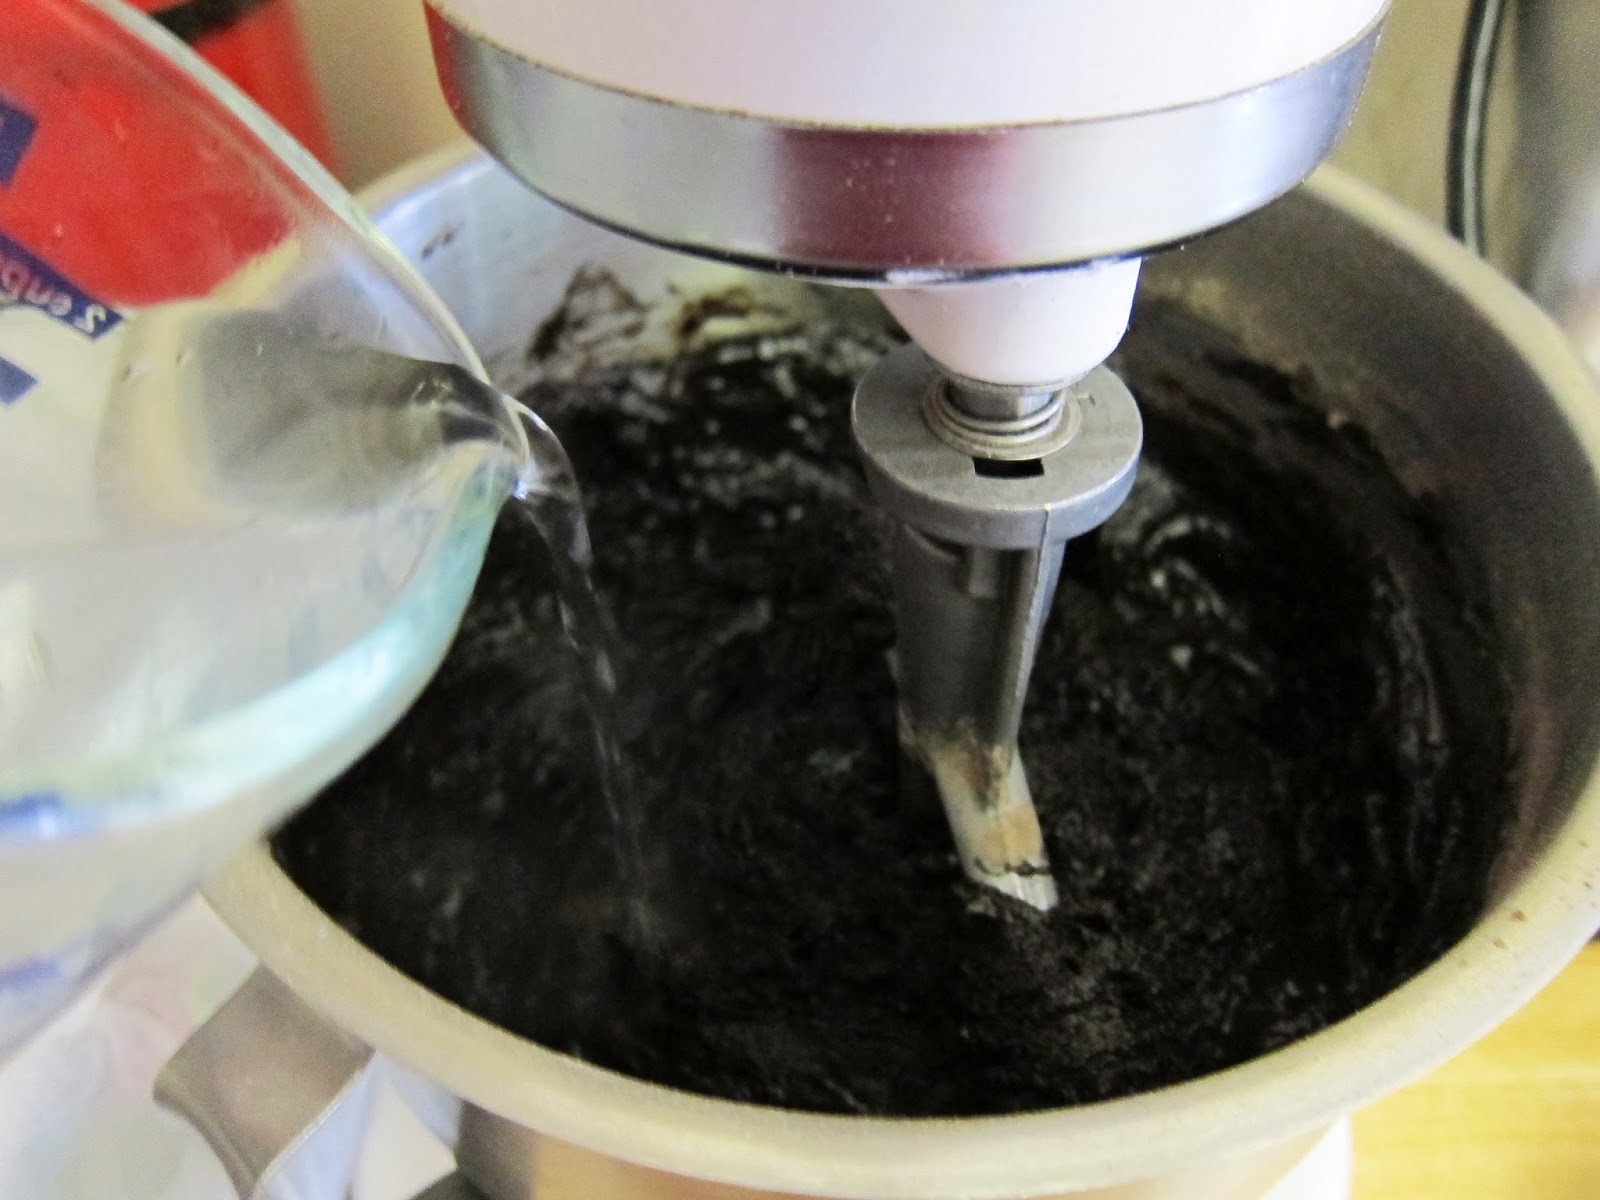
adding boiling water
batter in cupcake liners
baked
sugar, egg whites and cream of tartar

My egg white mixture never got frothy (which should
have been my first clue that I had forgotten to add the
water). But I missed that clue and just kept on going.
beating over simmering water

Even though I had forgotten the water,
everything was going along swimmingly.
stiff peaks forming

The color only looks weird because of the
bad lighting by my stove. Also, if this looks
like a lot it's because I made 3x the recipe.
adding homemade vanilla extract & almond extract

Still looking good.
stiff peaks again

At this point I tasted the frosting and noticed a slight
crunch from the sugar that never quite dissolved completely.
That's when I realized that I had left out the water. I didn't
have time (or the eggs) to make another batch of frosting,
so crunchy frosting it was. Consider this a cautionary tale.
piping on the slightly crunchy (but still tasty) marshmallowy frosting
piped
dipping

Yes, I was nervous all the frosting
would melt right off...but it didn't!
hi hat cupcakes drying
.