Showing posts with label thanksgiving. Show all posts

Monday, November 25, 2013

Pumpkin Rugelach

Happy Thanksgivukkah! I couldn't resist making at least one merged Thanksgiving & Hanukkah treat this year. After all, they say these two holidays won't intermingle again for another 79,000 years, so it's now or never (at least for me). I like to think that in 79,000 years people will no longer eat because they'll have evolved to be more like plants and simply photosynthesize. It just seems so much more elegant. So enjoy some rugelach while you still have a mouth.

 PUMPKIN RUGELACH
Yield: 2 dozen

Dough:
4 oz. cream cheese, softened
1 stick unsalted butter, softened
1/2 teaspoon vanilla extract
2 tablespoons sugar
1/8 teaspoon salt
1 cup all-purpose flour

Pumpkin Filling:
1/2 cup pumpkin puree
2 tablespoons unsalted butter
1/4 cup fine maple sugar or dark brown sugar
1/2 teaspoon pumpkin pie spice
1 teaspoon ground cinnamon
1 teaspoon vanilla extract
1/2 cup chopped walnuts

Optional:
1 egg beaten with 1 tablespoon milk (egg wash)
2 tablespoons raw sugar
__________________________________________________________________________

1.      Dough: Combine cream cheese and butter in a bowl until well blended. Stir in vanilla, sugar and salt. Stir in flour to create a soft dough. Remove dough from bowl, form into a disk and wrap with plastic wrap. Refrigerate until ready to use, at least 1 hour.
2.      Pumpkin Filling: In a saucepan over medium heat, combine pumpkin, butter, maple sugar, pumpkin pie spice and cinnamon; stir occasionally until mixture begins to bubble. Reduce heat to low and cook for about 10 minutes, or until mixture thickens and water has evaporated. Remove from heat, stir in vanilla and allow to cool completely before using.
3.      Place half the dough on a floured surface and roll out into a 9-inch round. Spoon half of pumpkin mixture onto center of dough. Use an offset spatula or back of a spoon to spread mixture out evenly toward edge. Sprinkle with half the chopped walnuts and about 2 tablespoons maple sugar or brown sugar. Use a sharp knife or pizza cutter to cut the round into 4 wedges, then cut each wedge into 3 wedges to create a total of 12 wedges.
4.      Preheat oven to 350º F. Line 2 baking sheets with parchment paper or silplat mats.
5.      Starting from wide end, roll each wedge into a crescent. Place "point down" on lined baking sheet. Repeat process with remaining dough and filling. Refrigerate rugelach for 30 minutes.
6.      Brush with egg wash and sprinkle with raw sugar, if desired.
7.      Bake for 20-22 minutes or until lightly browned, turning halfway though. Cool for a few minutes before transferring to a wire rack to cool completely.

slightly adapted from shawnsplate.com

pumpkin, butter, sugar and spices
pumpkin mixture thickened
pumpkin mixture spread on dough circle
and sprinkled with walnuts and sugar

I forgot to take photos of making the dough, but clearly I did.
dough cut into triangles
rolled into crescents

I didn't do the egg wash or sprinkle with
raw sugar. It looks pretty, but isn't necessary
if you don't have time (which I didn't).

I've been so ridiculously busy lately that I only managed to take one photo of the baked final product (at the top of the page). I made these last week and froze them, so I could go to the basement, get them out of the freezer and do a rugelach photo shoot, but that's just not going to happen.
.

Monday, November 11, 2013

Mushroom and Celery Stuffing

I know that technically when you don't cook your stuffing inside your turkey, it's called dressing. But I can't quite bring myself to do that because in my mind, dressing will always be something I drizzle on my salad. So I'm sticking with stuffing. I think we all know what I'm talking about. I've tried a lot of stuffing recipes over the years and maybe I should be ashamed to admit this, but I've never found a homemade one I liked as much as plain old Pepperidge Farm in the bag. I guess it's because that's what I grew up eating (and no, they're not paying me to say this). But I always wanted to find a homemade version I like just as much and this is the one. It's very unassuming - no chunks of sausage, apple or chestnuts (although I do love chestnuts). Just the basics. Sometimes that's all you need.


 MUSHROOM AND CELERY STUFFING
Serves 12

1 large loaf challah bread or decent quality white bread (such as Arnold brand)
2 cups diced celery
2 cups diced onion
2 cups diced cremini mushrooms
8-10 sprigs thyme, chopped
3 sprigs rosemary, chopped
1/4 cup chopped flat leaf parsley
3 cups chicken stock (or vegetable stock for vegetarian), preferably homemade
6 tablespoons butter + 1 stick butter, melted
1 teaspoon salt
1 teaspoon black pepper, freshly ground


1.      Heat oven to 275° F. Cut the bread into cubes, about ¾-inch each. Place cubes on a parchment lined sheet pan toast in the oven for about 45 minutes, stirring every 10-15 minutes. Set aside until completely cooled.
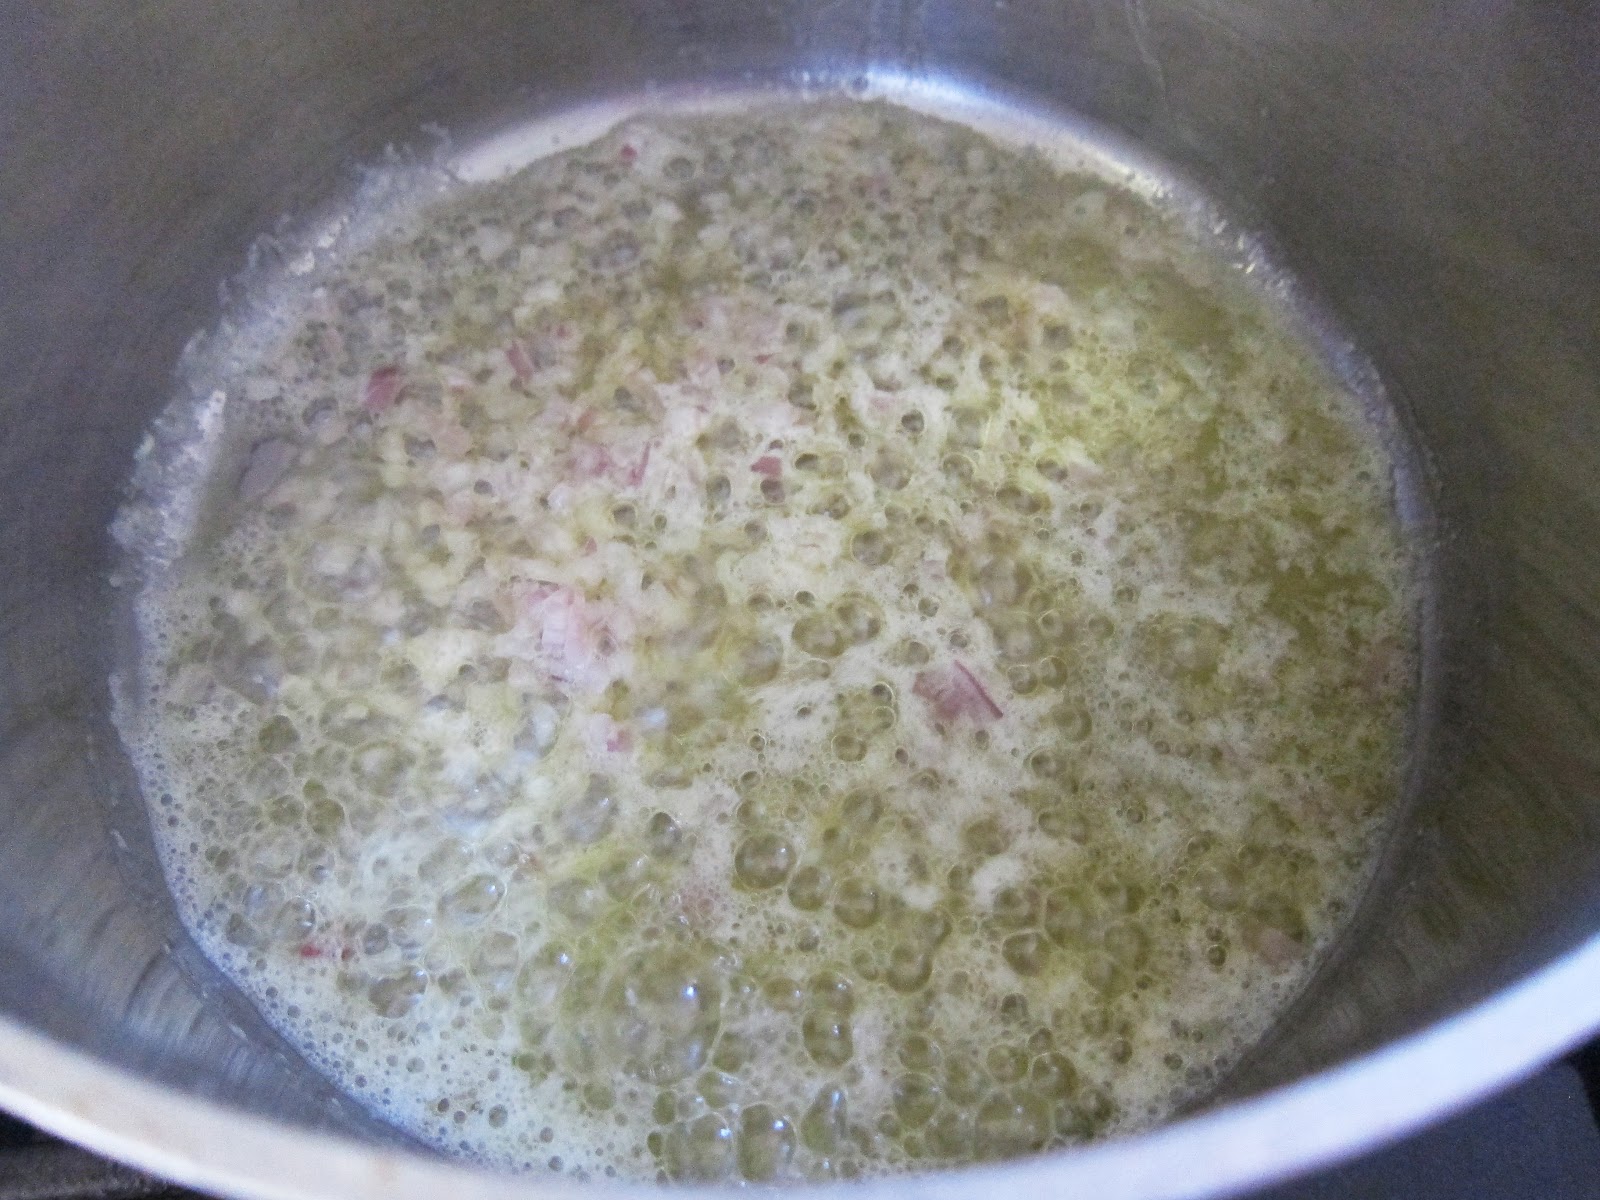
2.      Melt 6 tablespoons of the butter in a large heavy saute pan. Saute the onions until wilted, add the herbs, celery and mushrooms and cook until just slightly cooked through.
3.      In a large bowl, combine bread cubes, vegetables, melted butter and vegetable stock, and salt and pepper. Test for seasoning and adjust.
4.      Press stuffing into a large buttered baking dish. Cover with buttered parchment, and then foil. At this point, the stuffing can be held for several hours, but should be at room temperature before baking.
5.      Bake at 350º F. for 35-40 minutes. Remove the parchment/foil and bake for another 10-15 minutes, to crisp the surface.

adapted from food52.com (submitted by MrsWheelbarrow)
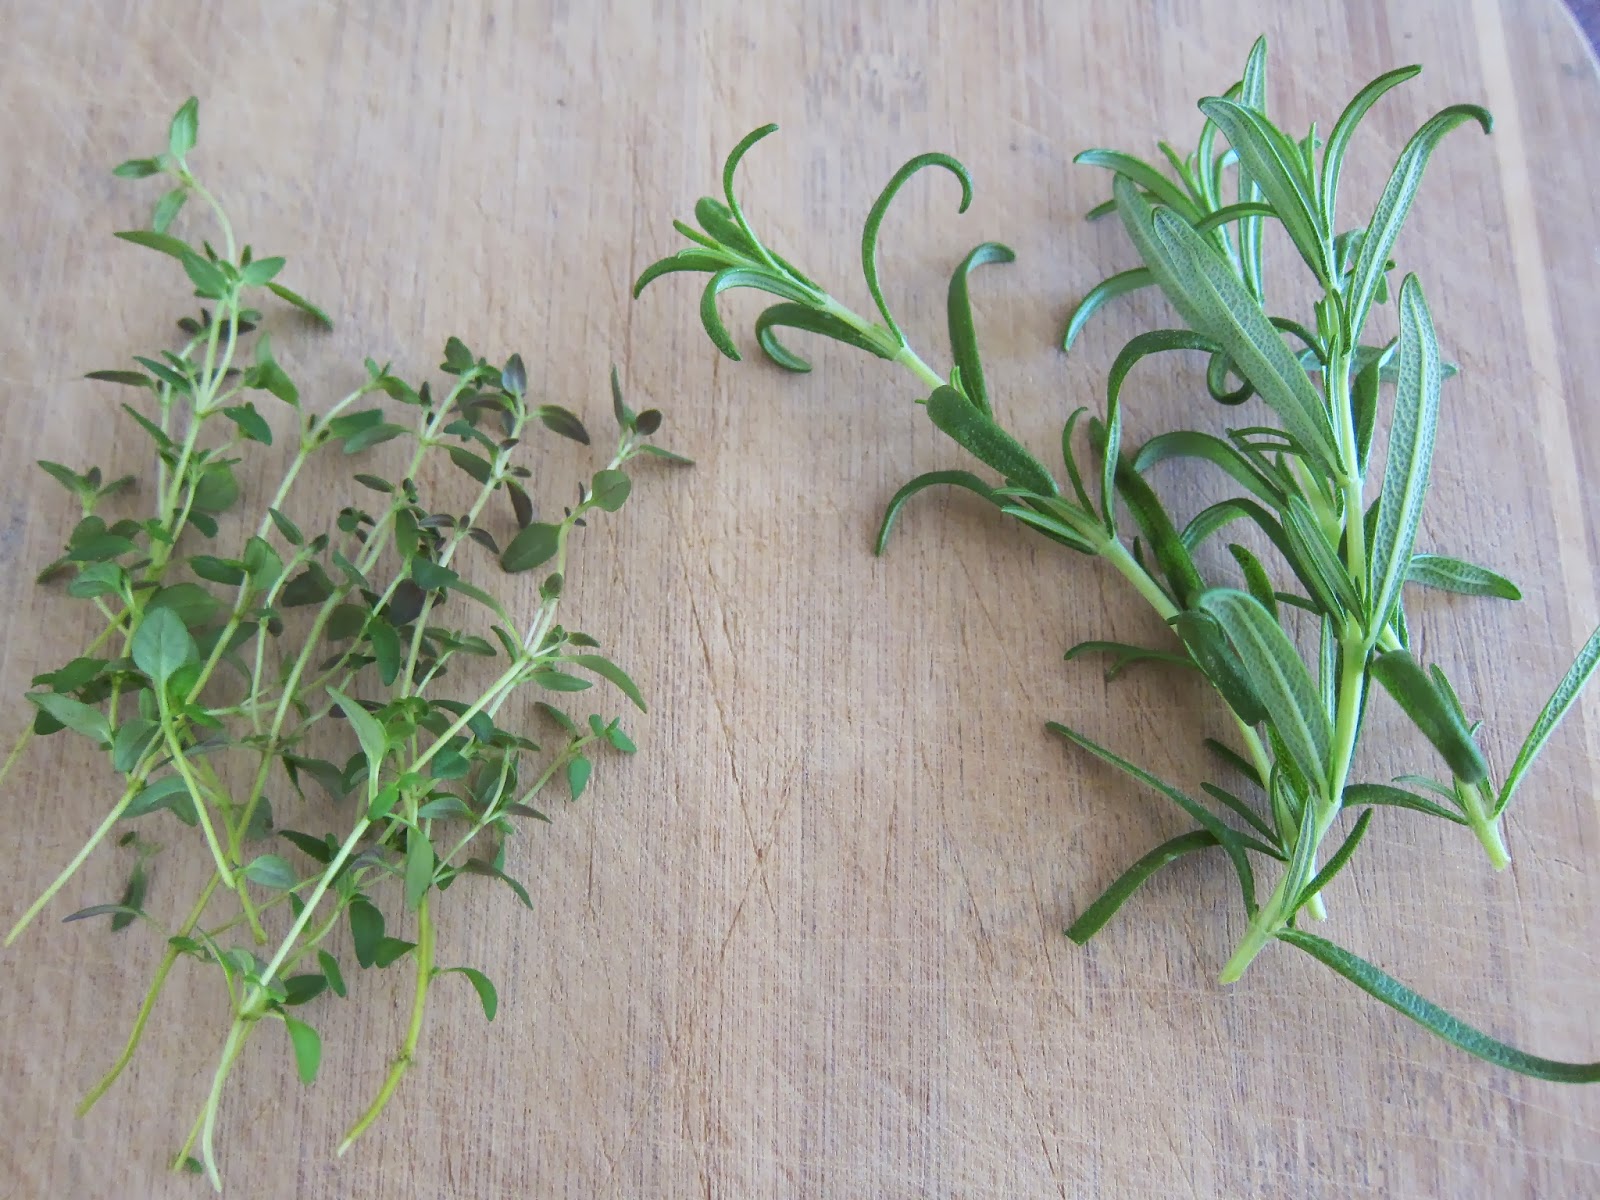
thyme and rosemary
vegetables and herbs in the pot
mixed
adding butter, stock, salt and pepper
adding toasted bread cubes
mixed
in the pan
baked
mushroom and celery stuffing

I love that the inside is moist, while the top is a little crunchy.
.

Monday, November 26, 2012

Mushroom Thyme Gravy

This is the ideal gravy for vegetarians or people (like me) who fry their turkey on Thanksgiving and don't have pan drippings to make gravy. It's rich and deeply flavorful. And if you don't like the idea of making it with vegetable or chicken stock, you can always make a stock from the giblets from inside your turkey (I actually simmered the giblets in homemade chicken stock for a super hybrid stock). Booyah.  

MUSHROOM THYME GRAVY
Yield: 2 cups

1/3 cup dried mushrooms (shitake or mixed)
2 cups chicken stock or vegetable stock, preferably homemade
3 tablespoons butter
1 1/2 tablespoons minced shallot
3 tablespoons flour
3 tablespoons soy sauce
1/2 cup light cream
1 tablespoon sherry
1 tablespoon minced fresh thyme
salt & pepper


1.      Bring the stock to a boil. In a small bowl pour stock over mushrooms. Let soak for 20 minutes.
2.      Remove mushrooms from bowl, setting the stock aside for later. Mince or thinly slice the mushrooms.
3.      In a medium saucepan melt the butter. Add the minced shallot and saute for 5 minutes over medium heat until softened.
4.      Add the flour to the butter/shallot mixture stirring constantly. Cook for a 2 minutes.
5.      Gradually add 1 1/2 cups of the reserved vegetable stock (leaving mushroom sediment out), stirring well to incorporate after each addition. Cook over medium heat until thickened.
6.      Add the reserved mushrooms, soy sauce, cream, sherry & thyme to the gravy. Cook for a few more minutes until heated through and thickened to desired consistency. Season to taste with salt & pepper.

from food52.com (added by sticksnscones)
dried shiitake mushrooms
shiitake mushrooms soaking in hot stock
soaked shiitake mushrooms
shallots cooking in butter
adding flour
roux
adding the stock
thickening
fresh thyme leaves
adding mushrooms, soy sauce, cream, sherry & thyme
mushroom thyme gravy

You can make this the day before and
reheat, thinning with more stock as needed.
gravy on mashed potatoes
 .

Friday, November 25, 2011

Deep-Fried Turkey with Creole Rub & Giblet Gravy

I should preface this post by saying I don't really like turkey much, so feel free to take anything on have to say on the matter with a huge grain of salt. But that being said, this was hands down the best turkey I've ever had. The skin was crispy and the inside was moist and juicy. And as you'll see in the video below, the frying was way cool. I actually ate a few slices outright (instead of breaking them into tiny pieces and camouflaging them in my stuffing and under my mashed potatoes).

 lowering the turkey into the hot oil
(I just love that sizzling sound, it's so satisfying.)

taking the turkey out of the fryer
(I was a little worried there for a minute that Chuck was
about to dump hot oil all over his feet, but he didn't.)


DEEP-FRIED TURKEY WITH CREOLE RUB

1 (12 lb.) turkey, giblets removed
approx. 2 gallons* oil (I used corn oil)

Brine:
6 quarts hot water
3/4 pound kosher salt
1 pound dark brown sugar
5 pounds ice (or 10 cups cold water)

Creole Rub (Yield 1/2 cup):
25 bay leaves, crushed
3 1/2 teaspoons dried thyme
3 1/2 teaspoons dried oregano
1 1/2 teaspoons freshly ground pepper
2 teaspoons garlic powder
3 tablespoons Creole seasoning

*To determine the correct amount of oil, place the turkey in the pot or fryer; add water just until it barely covers the top of the turkey and is at least 4 to 5 inches below the top of the pot. This is the amount of oil you need for frying the turkey.


1.      Brine the turkey: Place the hot water, kosher salt and brown sugar into a 5-gallon upright drink cooler and stir until the salt and sugar dissolve completely. Add the ice or water and stir until the mixture is cool. Gently lower the turkey into the container. If necessary, weigh down the bird to ensure that it is fully immersed in the brine. Cover and set in a cool dry place for 8 to 16 hours.
2.      Make the rub: In a small bowl, mix together the bay leaves, thyme, oregano, pepper, garlic powder and Creole seasoning.
3.      Fry the turkey: Remove the turkey from the brine and pat dry (be thorough, water and oil don’t mix). Rub the turkey all over with the rub (inside and out). Allow to sit at room temperature for 45 minutes to 1 hour before frying.
4.      Fill the fryer with oil. Bring the temperature to 350º F. (if using a traditional turkey fryer, check out Alton Brown's suggestions about starting at 250º F.) Slowly lower the turkey into the oil.
5.      After 40 minutes, check the temperature of the turkey using a probe thermometer. Once the breast reaches 160º F., carefully lift from the oil (hold it over the oil to allow the excess to drip off). Cover with aluminum foil and allow to rest for a minimum of 30 minutes prior to carving. The bird will reach an internal temperature of 170º F. due to carry over cooking.

Brine and other turkey frying instructions adapted from: Alton Brown and briansbelly.com
Dry rub from: allrecipes.com by HEBEGEBE  

brining the turkey

I decided to use one of those really gigantic brining bags.
Unfortunately it had a hole, and all the brine went everywhere
and there was a lot of cursing, followed by a lot of cleaning
and more brine making. So I switched to a 2-gallon ziploc bag
(two of them actually...I wasn't taking any chances).
I could just barely jam the turkey in there, but it did fit.
I'm getting pissed off all over again just thinking about it.
turkey dried
rubbing the turkey

You'll notice my bay leaves aren't crushed all that finely.
My spice grinder died mid-grind, so I switched to the old
mortar and pestle, but that was as fine as I could get it.
Right about now I was feeling like this turkey was cursed.
rubbed turkey
our indoor turkey fryer

It says in the instructions not to use it outside, but I figure
they write that just so some dumb ass doesn't use it in the rain.
lowering the turkey into the fryer
turkey sizzling away

Peanut oil is highly recommended, but since my daughter
is allergic, I went with corn. I would have preferred
refined coconut or safflower maybe, but I didn't think ahead
and couldn't find such a large quantity last minute.
fried turkey (and no one got burned)...phew, no curse after all.
carving the turkey

I know the skin looks like leather, but it was crispy and so flavorful.
This video shows how moist and juicy the turkey breast was. 


TURKEY GIBLET GRAVY

turkey giblets (removed from inside turkey)
4 cups chicken stock or turkey stock
4 large sprigs fresh thyme (or other fresh herb)
4 tablespoons unsalted butter
1/3 cup all-purpose flour
kosher salt
freshly ground black pepper


1.      Bring the giblets, herbs and stock to a boil in a medium saucepan. Cover and simmer for 1 hour. Strain through a fine mesh strainer. Can be made 2 days ahead and kept covered in refrigerator.
2.      In medium saucepan over moderately low heat, melt butter, then whisk in flour and cook, whisking constantly, until smooth, approximately 2 minutes. Gradually whisk in the giblet stock, then raise heat to moderately high and boil, uncovered, until thickened, about 8 minutes.
3.      Season with salt and pepper to taste.

straining the giblets

When you're frying a turkey, you obviously don't have any
pan drippings for gravy, so using the giblets is a nice
way to get that essence de turkey.

making the roux
stock added and thickening
gravy
.